This repair started in my own bathroom. Beside the shower enclosure, the outside metal corner needed normal finishing work, but that was not the part that concerned me. The real problem was the dark vertical opening tucked behind the shower-side tile and enclosure trim.
I knew the wall was tile blue board, and I already planned to sand and paint the outside corner. What I needed to solve was the gap behind the shower tile. Once I measured it at about 3/4 inch wide, I knew I needed a solid finish piece—not a giant bead of caulk.
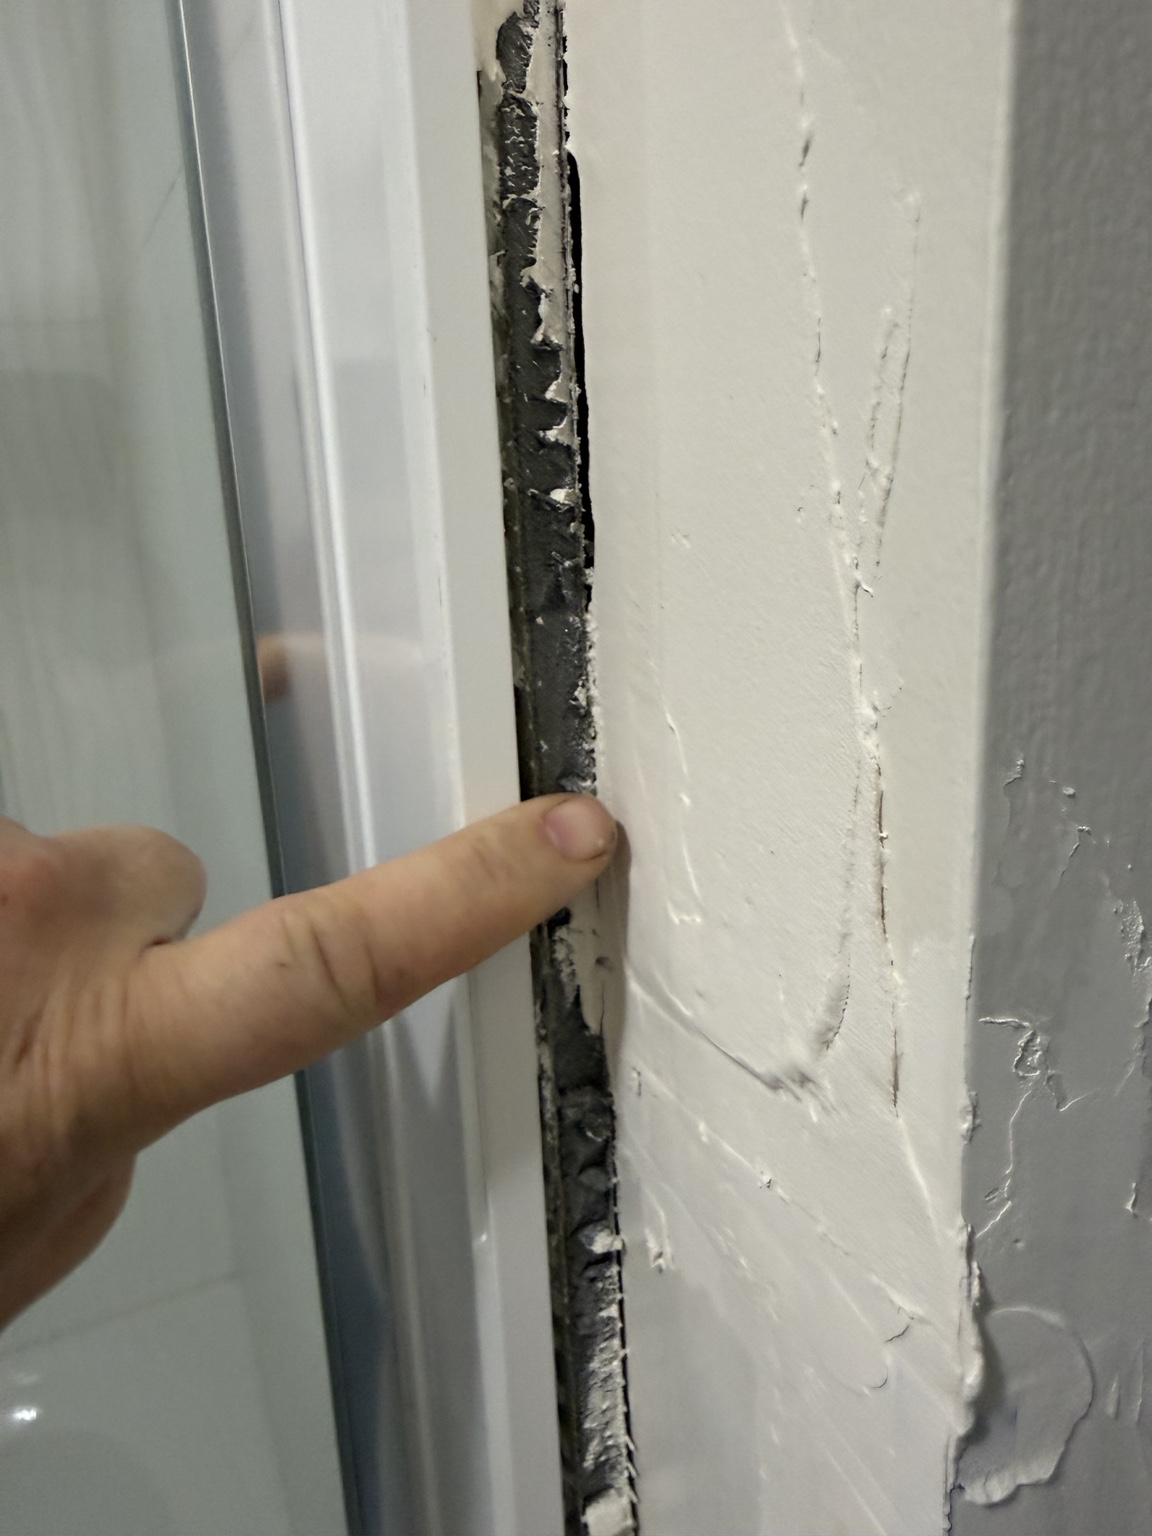
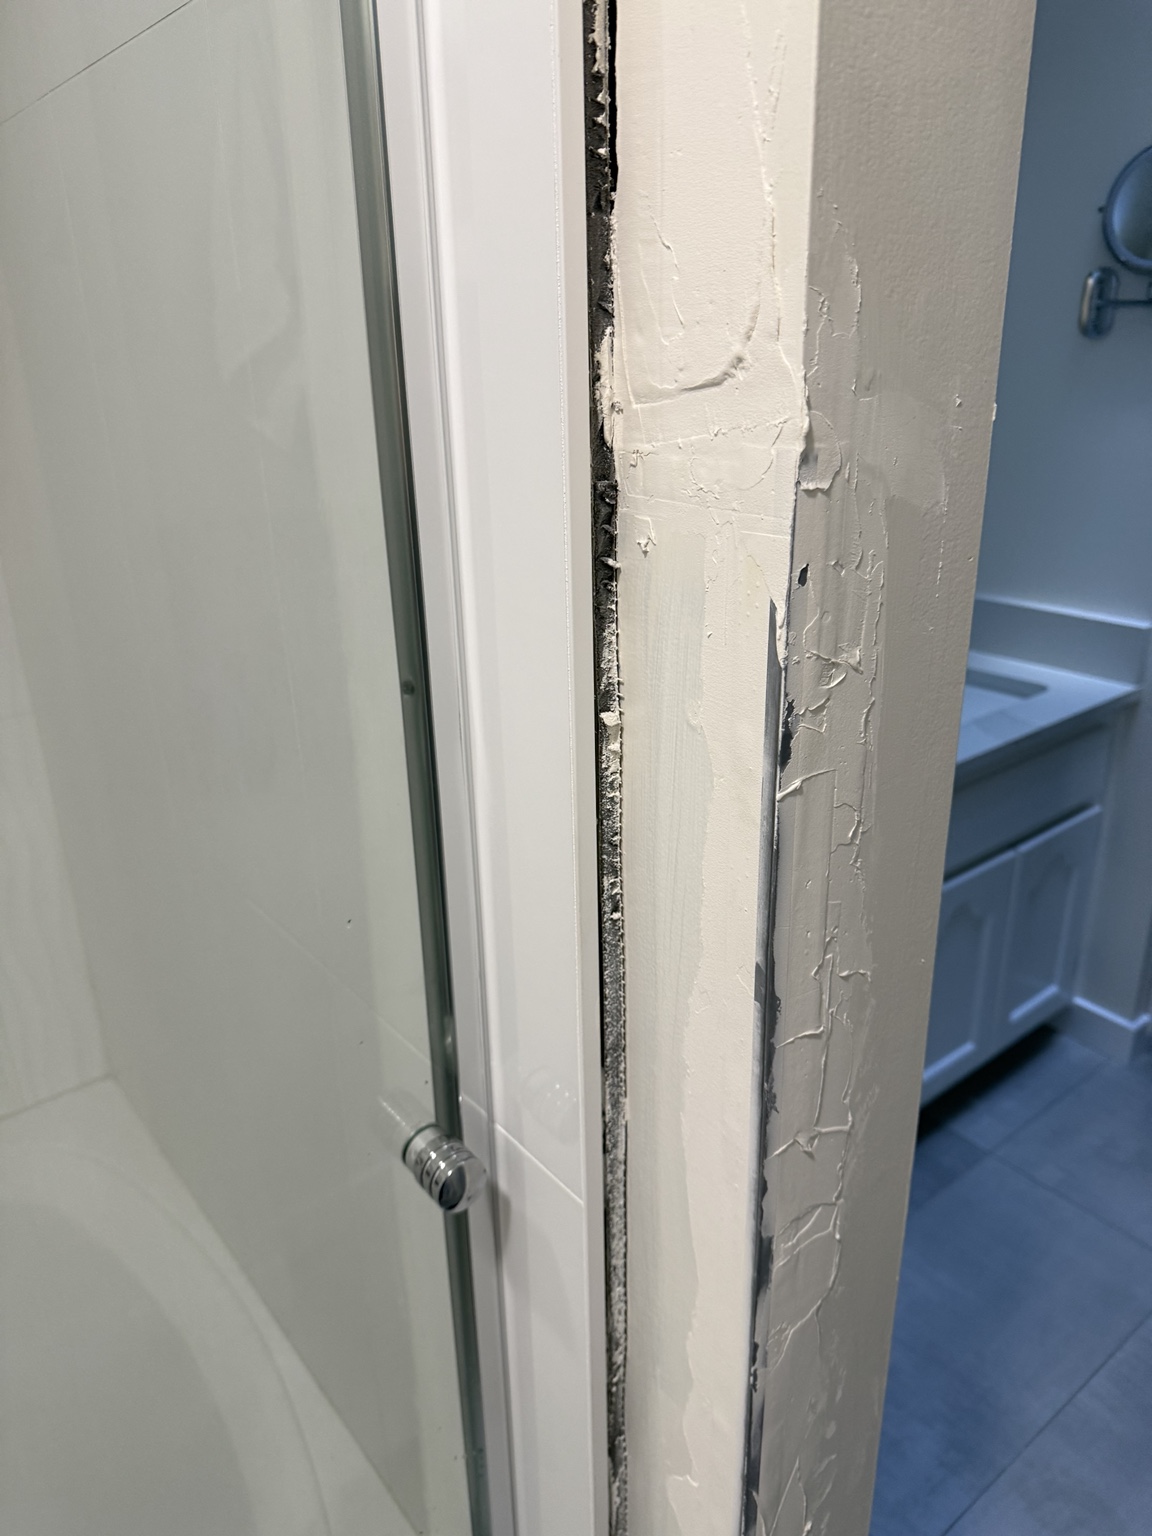
Why 3/4 inch changes the answer
A small joint can often be finished with correctly sized backer rod and sealant. A 3/4-inch exposed opening is a different situation. Trying to make that much space disappear with drywall compound, grout, painter's caulk, or one enormous silicone bead is likely to look improvised and can fail again.
The solution I used
I cut a straight 3/4-inch-wide PVC trim strip to fit the approximately 20-inch opening. I removed the loose material, dry-fitted the strip, and used a compatible construction adhesive/caulk behind it. Then I sealed the edges, primed the repair and painted it to match the bathroom.
- Use PVC or composite rather than MDF or ordinary wood beside a shower.
- Clean out only loose material and confirm the substrate is dry and sound.
- Dry-fit the full piece before applying adhesive.
- Use only products compatible with the PVC, wall surface and shower enclosure.
- Seal the shower-side transition neatly; do not rely on paint or drywall compound as the wet-area seal.
The repair, step by step
The photos below show the actual progression. This shows exactly how I took the repair from an idea to a finished result: the problem, the preparation, the fitted PVC, the sealed edges, and the finished surface.
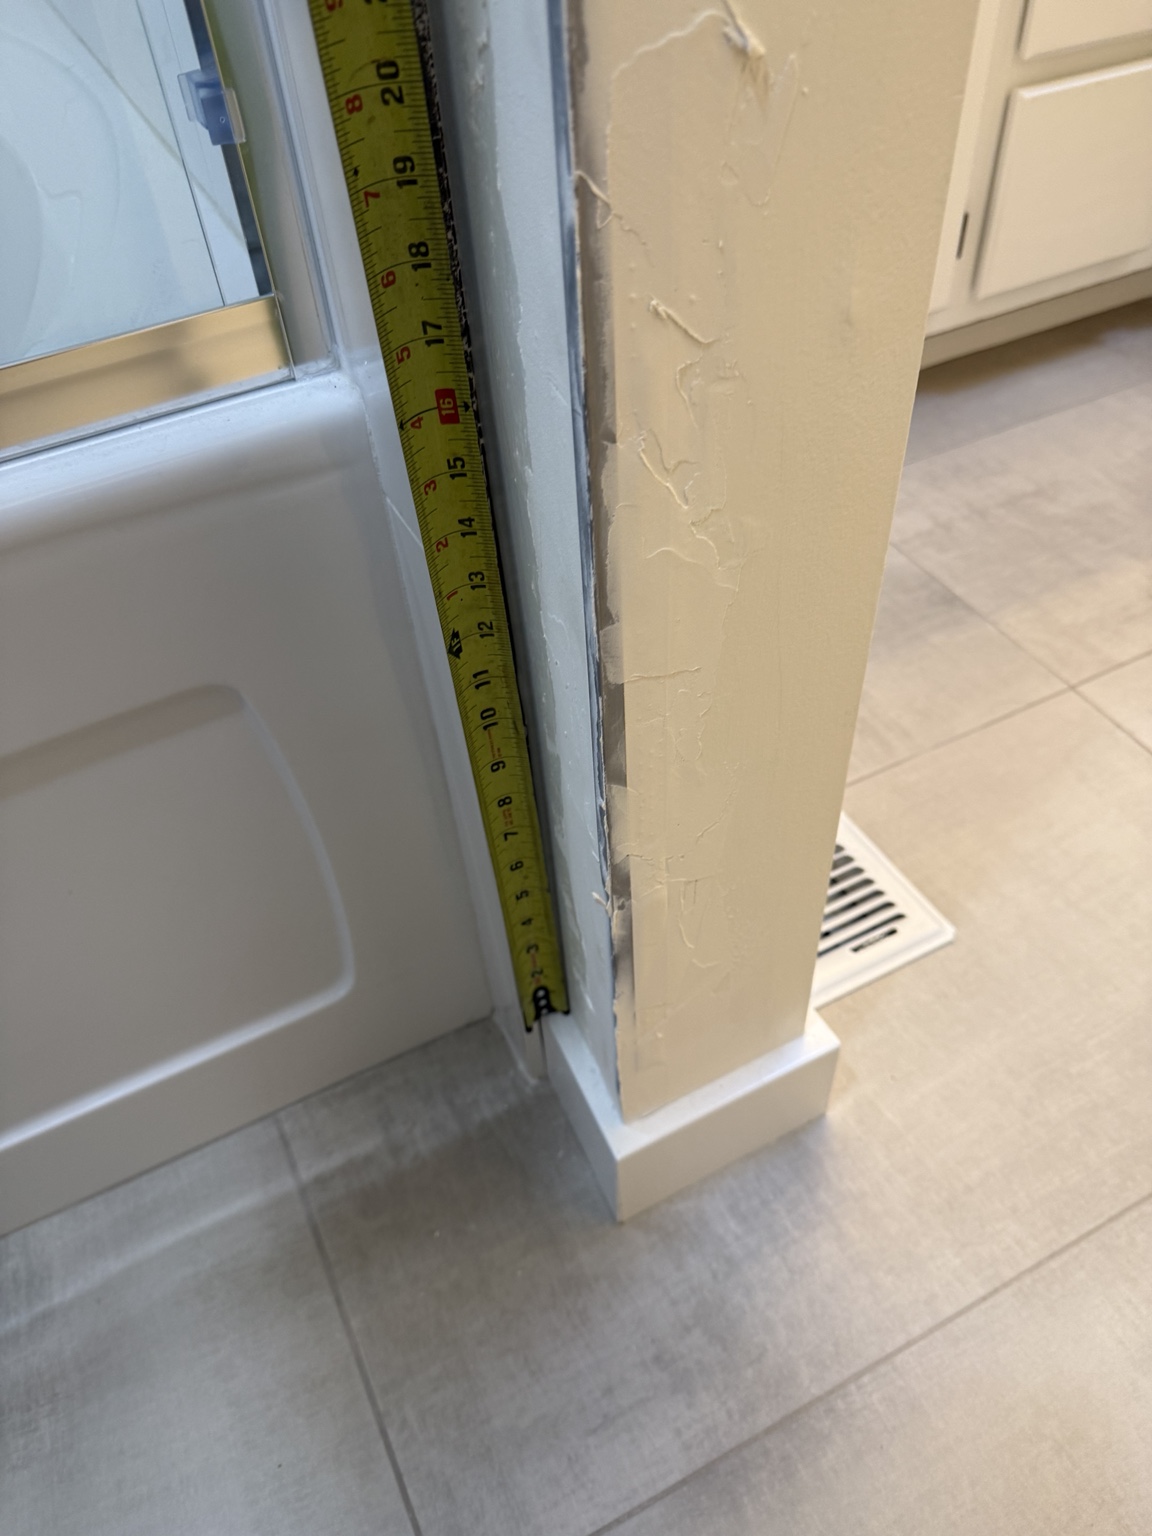
Step 1
Measure the opening
I measured the repair area at roughly 20 inches tall and the exposed gap at approximately 3/4 inch wide. I checked it in more than one place because an unfinished opening can vary from top to bottom.
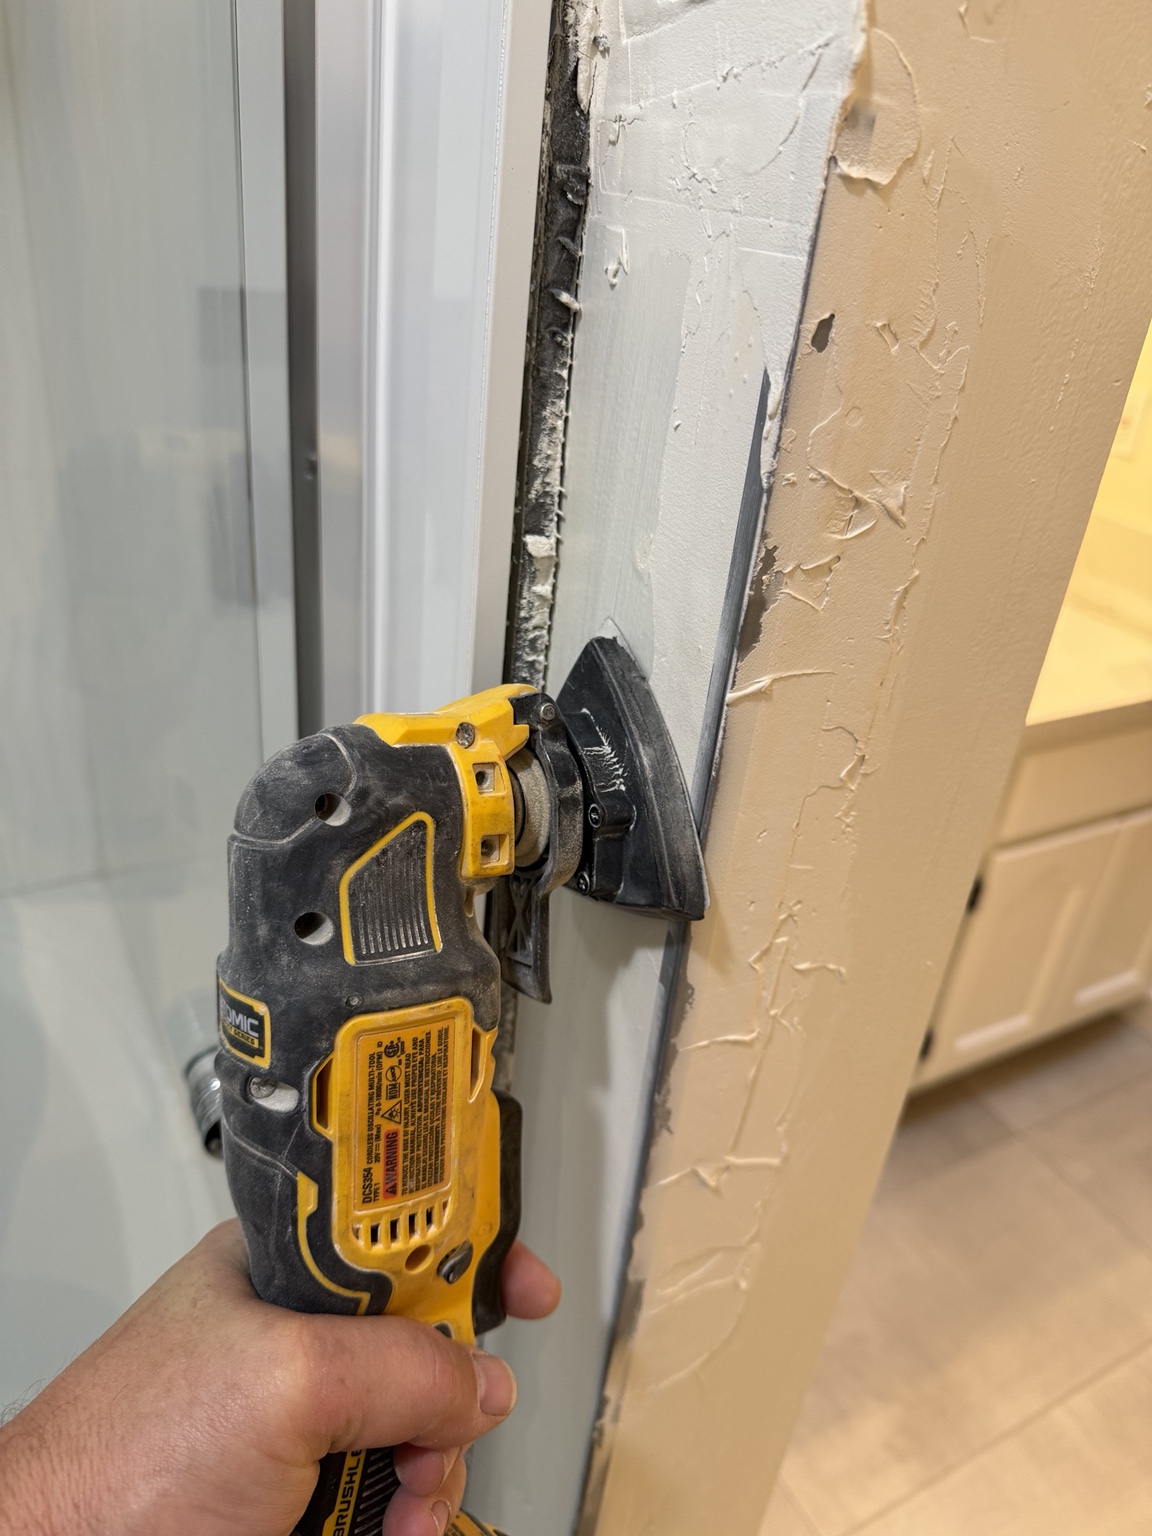
Step 2
Remove loose material
I carefully trimmed back loose, proud and damaged material so the PVC could sit flat. I protected the shower frame and finished surfaces and avoided cutting into the enclosure, waterproofing or sound backing.
Step 3
Dry-fit the PVC
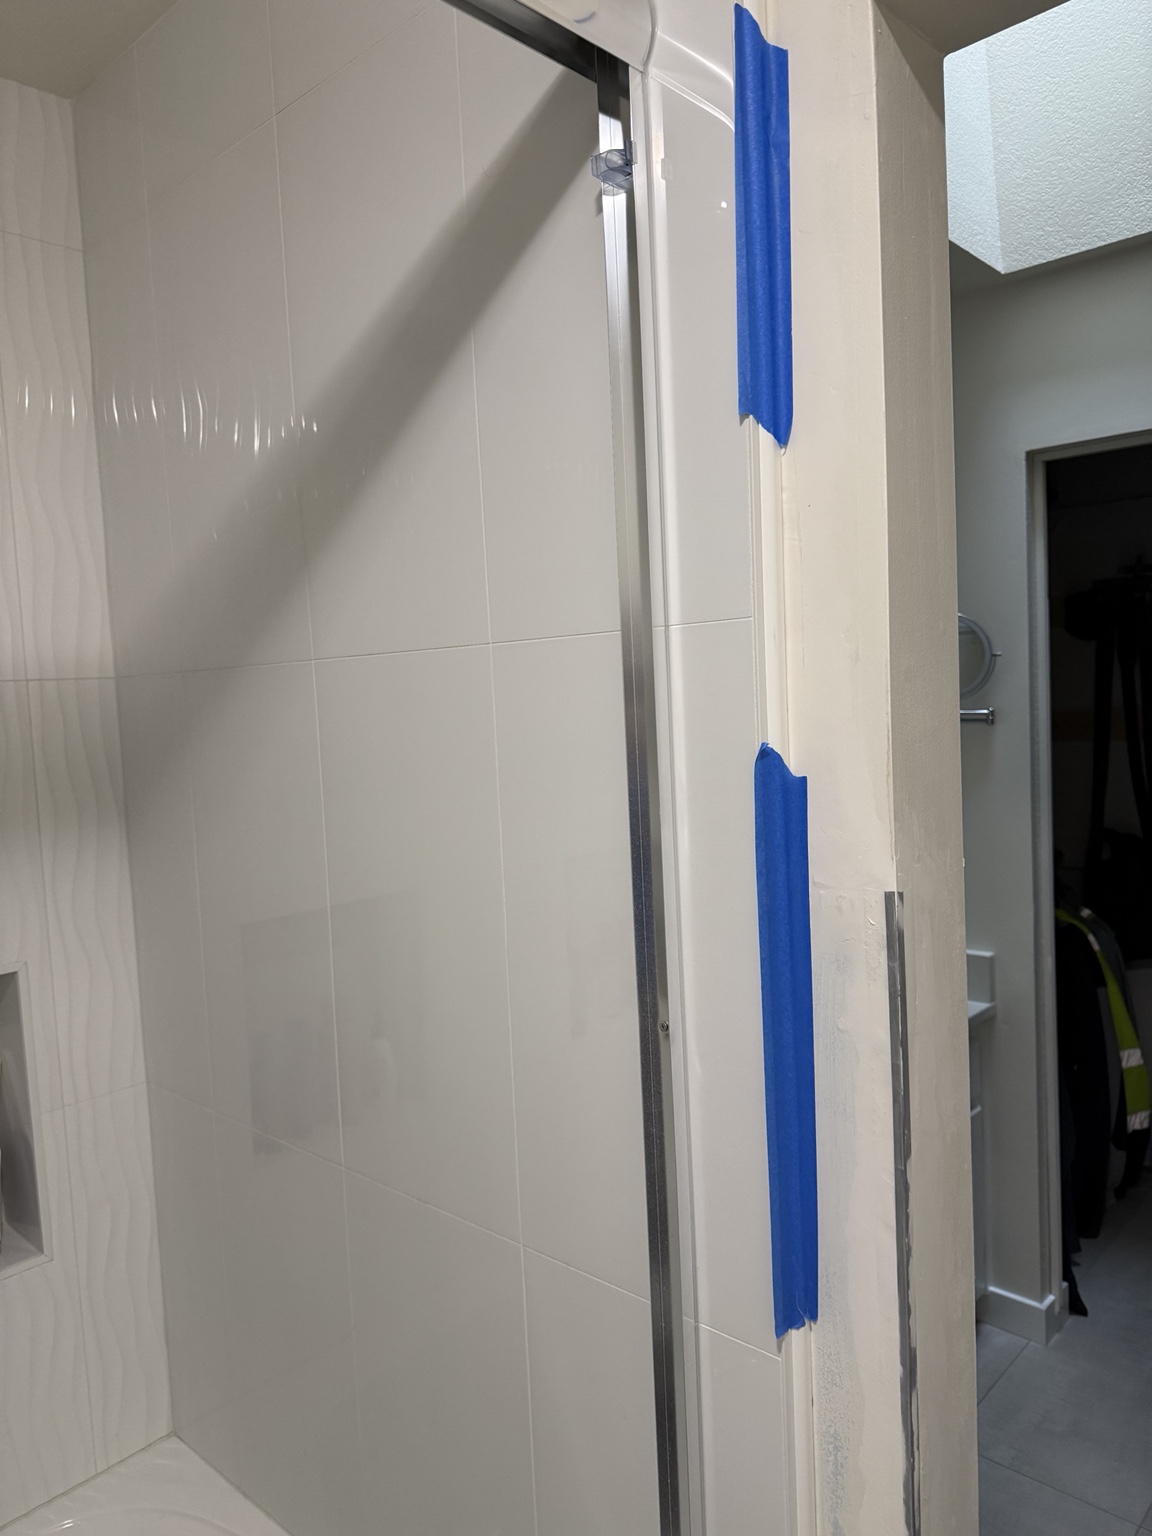
Before applying adhesive, I positioned the cut PVC strip and used painter's tape to hold it while I checked that it followed a straight line and covered the opening from top to bottom.
Step 4
Apply compatible adhesive and sealant
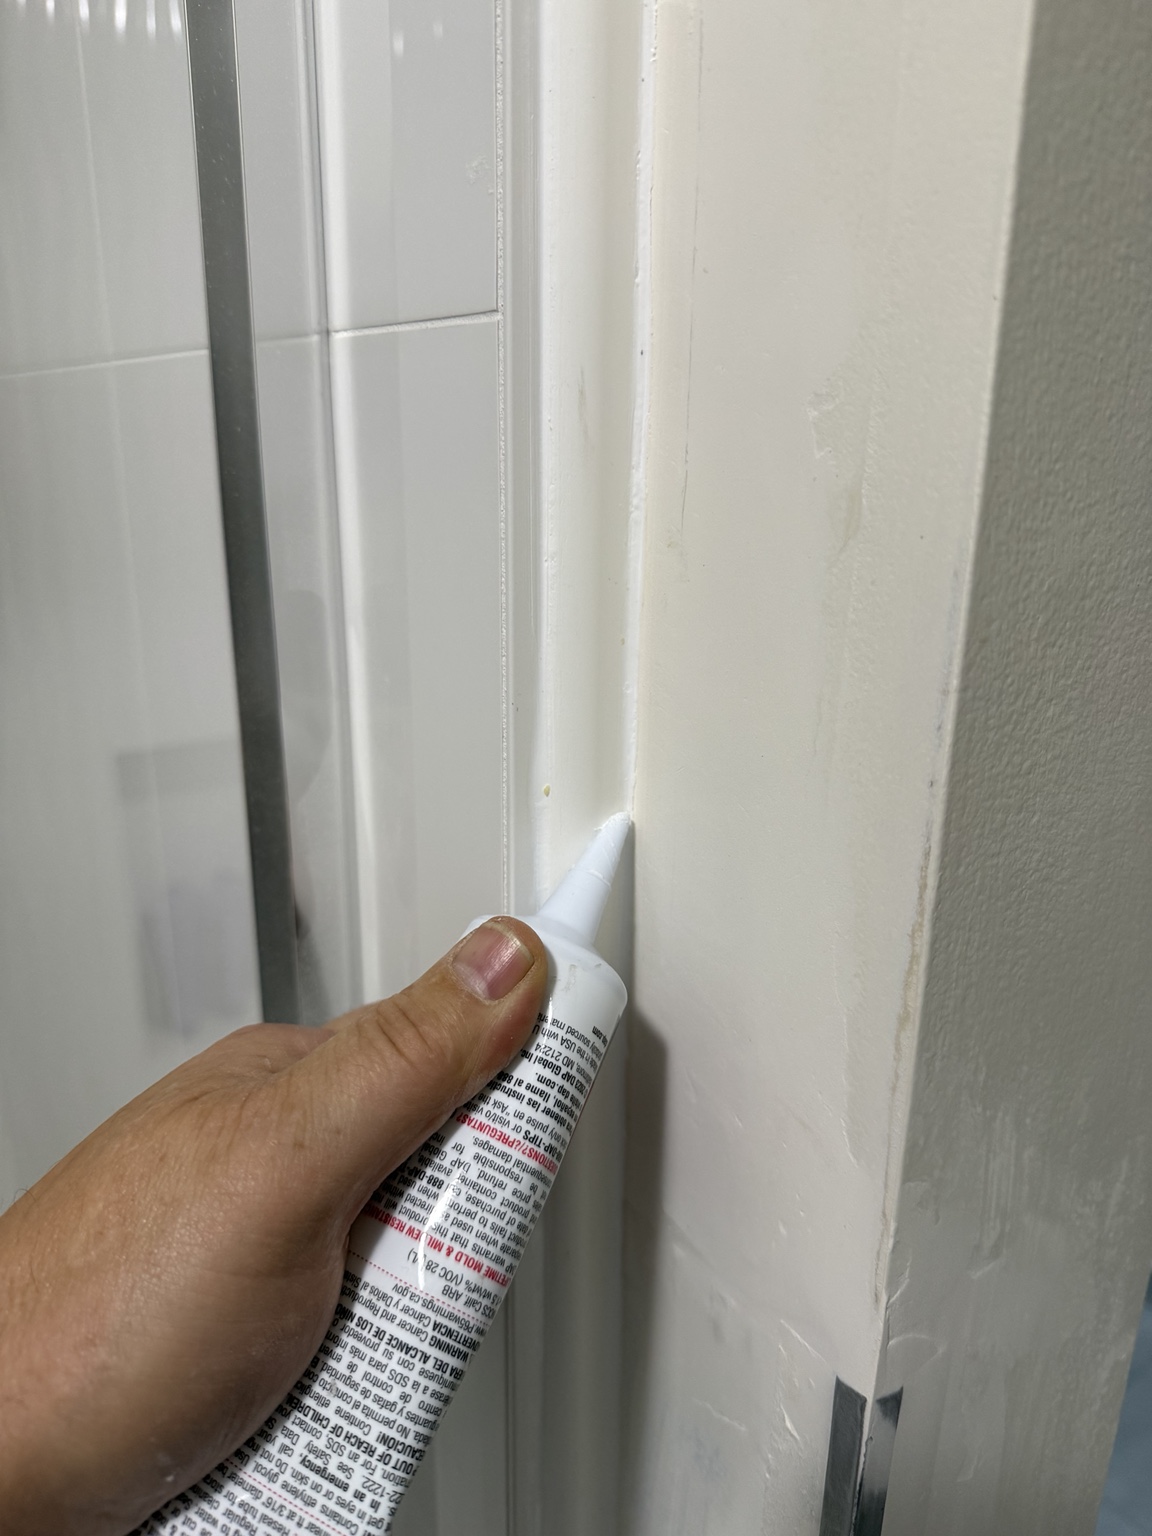
I applied a controlled amount of compatible construction adhesive/caulk to secure the PVC and close the exposed edge. I followed the product directions for surface preparation, application, cure time and wet-area suitability.
Step 5
Set the strip in place
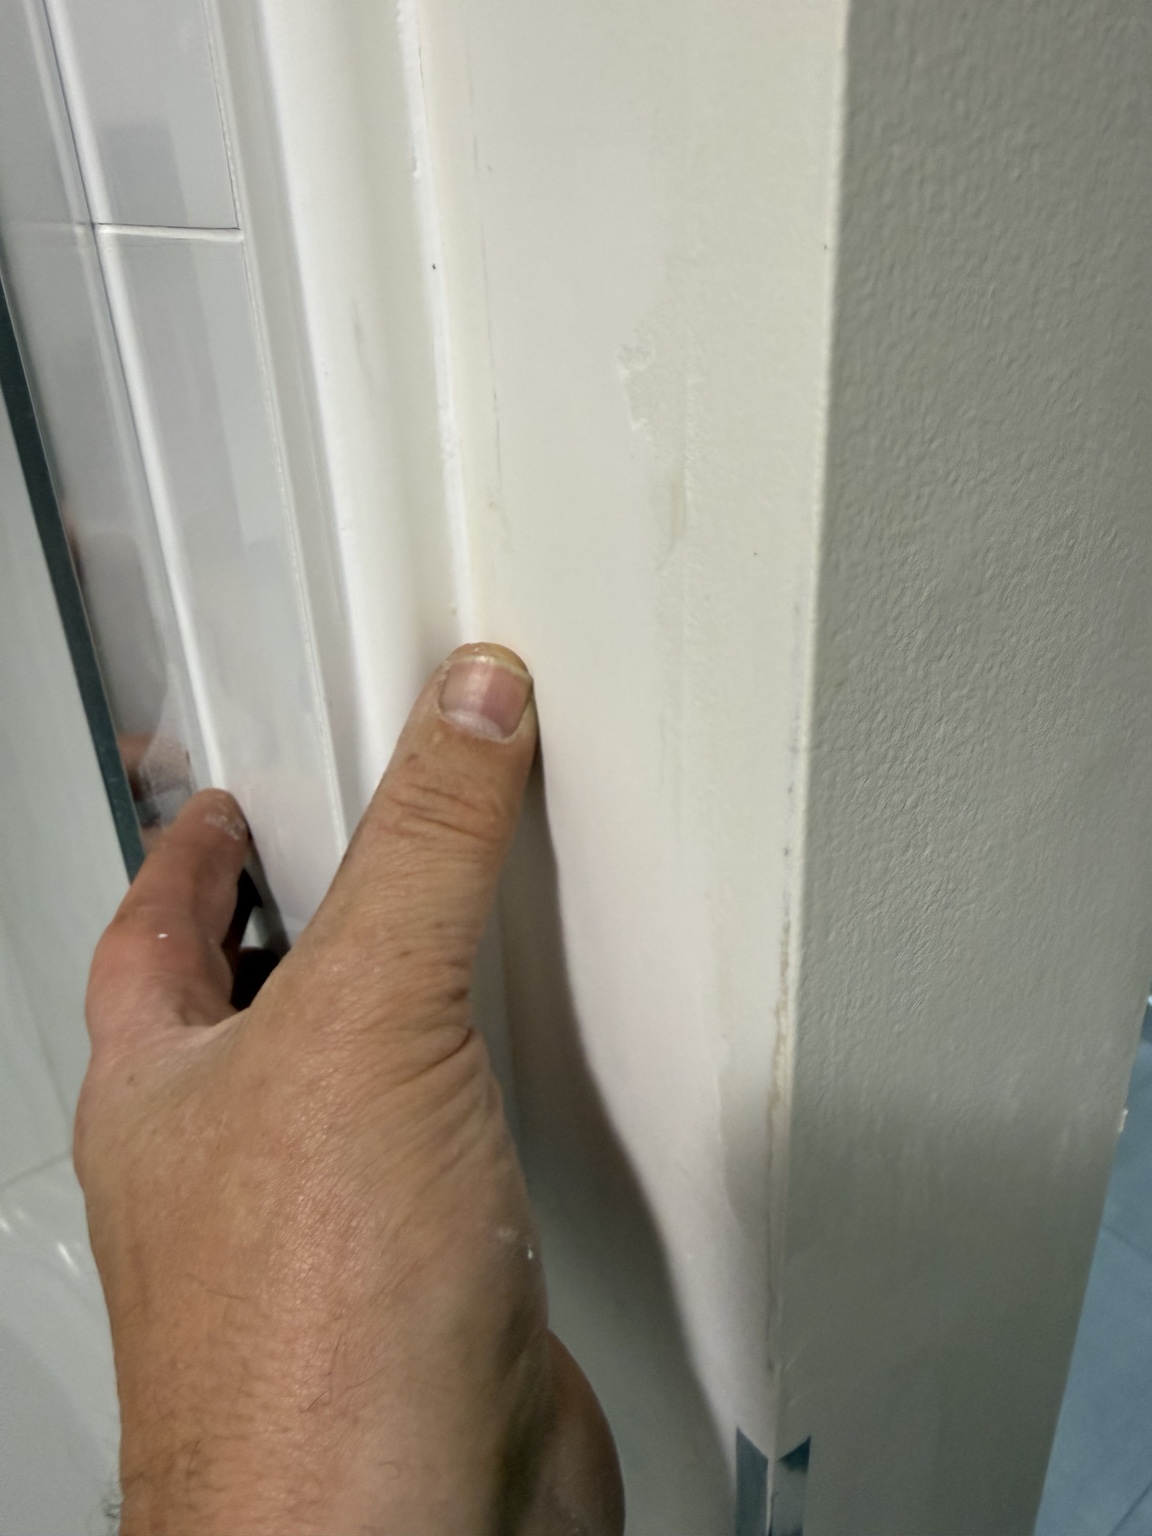
I pressed the PVC firmly into position for full contact, then tooled and cleaned the squeeze-out while the product was workable. That left a small, deliberate edge instead of a heavy caulk buildup.
Step 6
Prime and paint
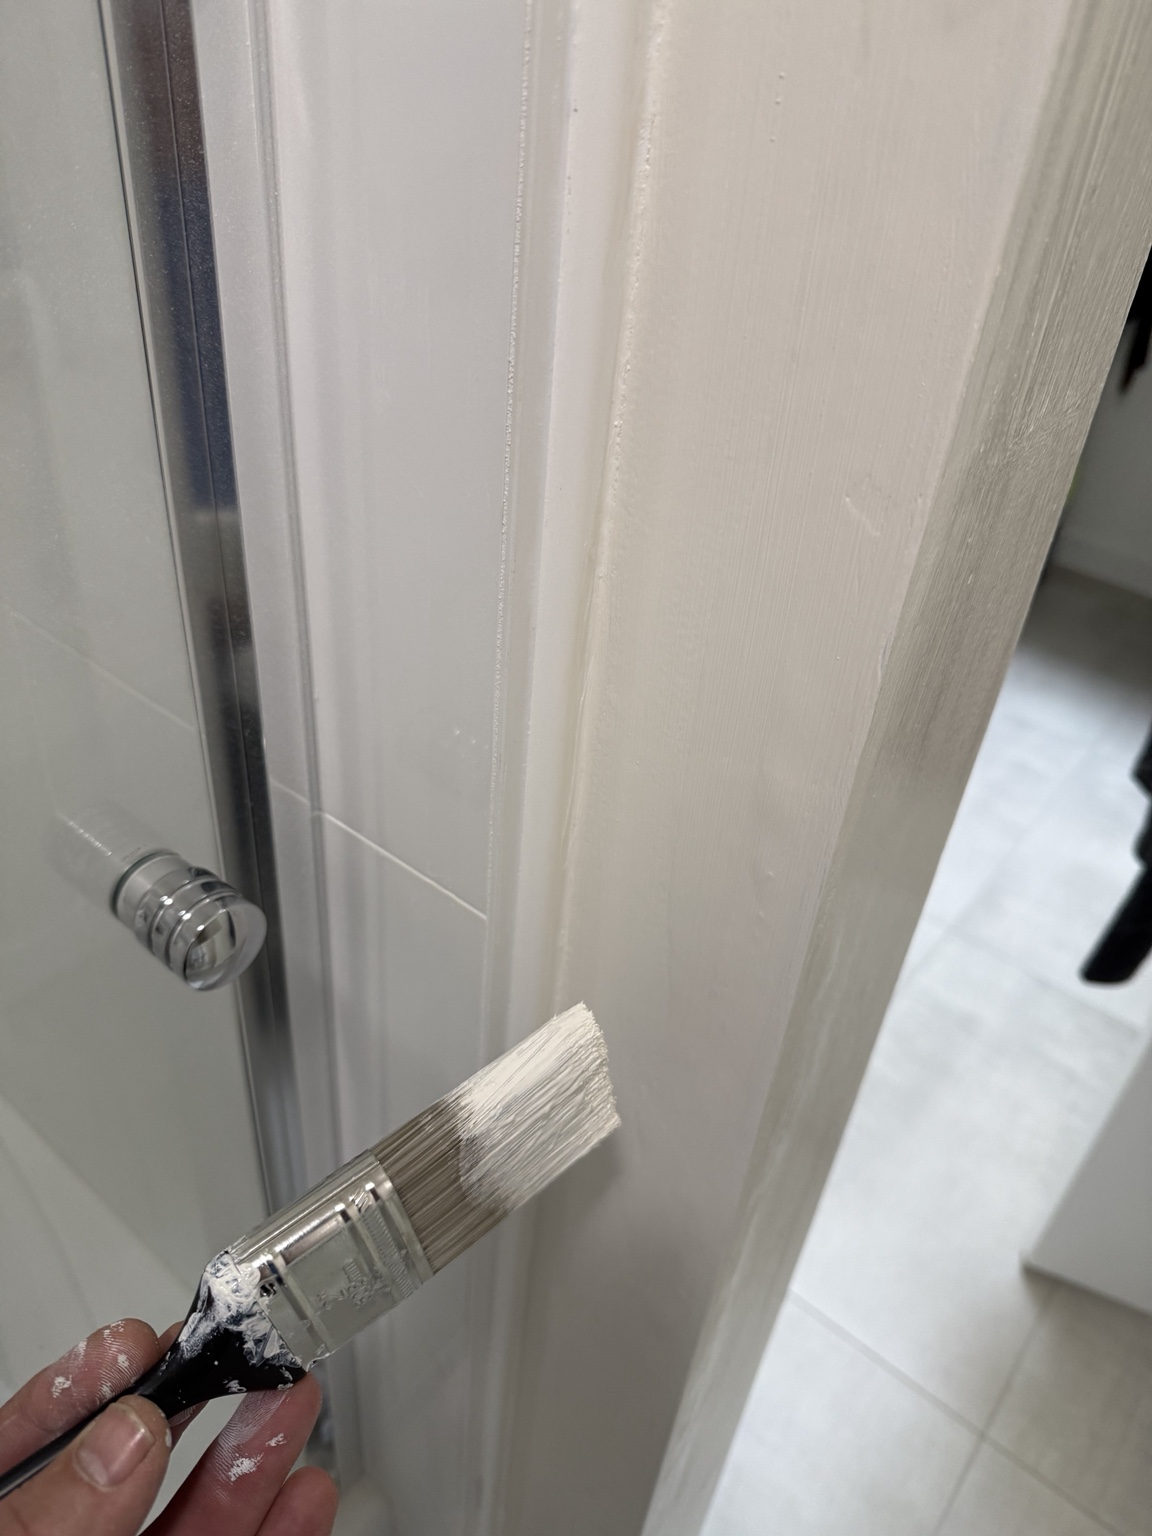
After the adhesive and repair materials cured, I primed the exposed wall repair and paintable trim as required, then coated everything to match my bathroom. I confirmed that the PVC and sealant products were paintable before coating them.
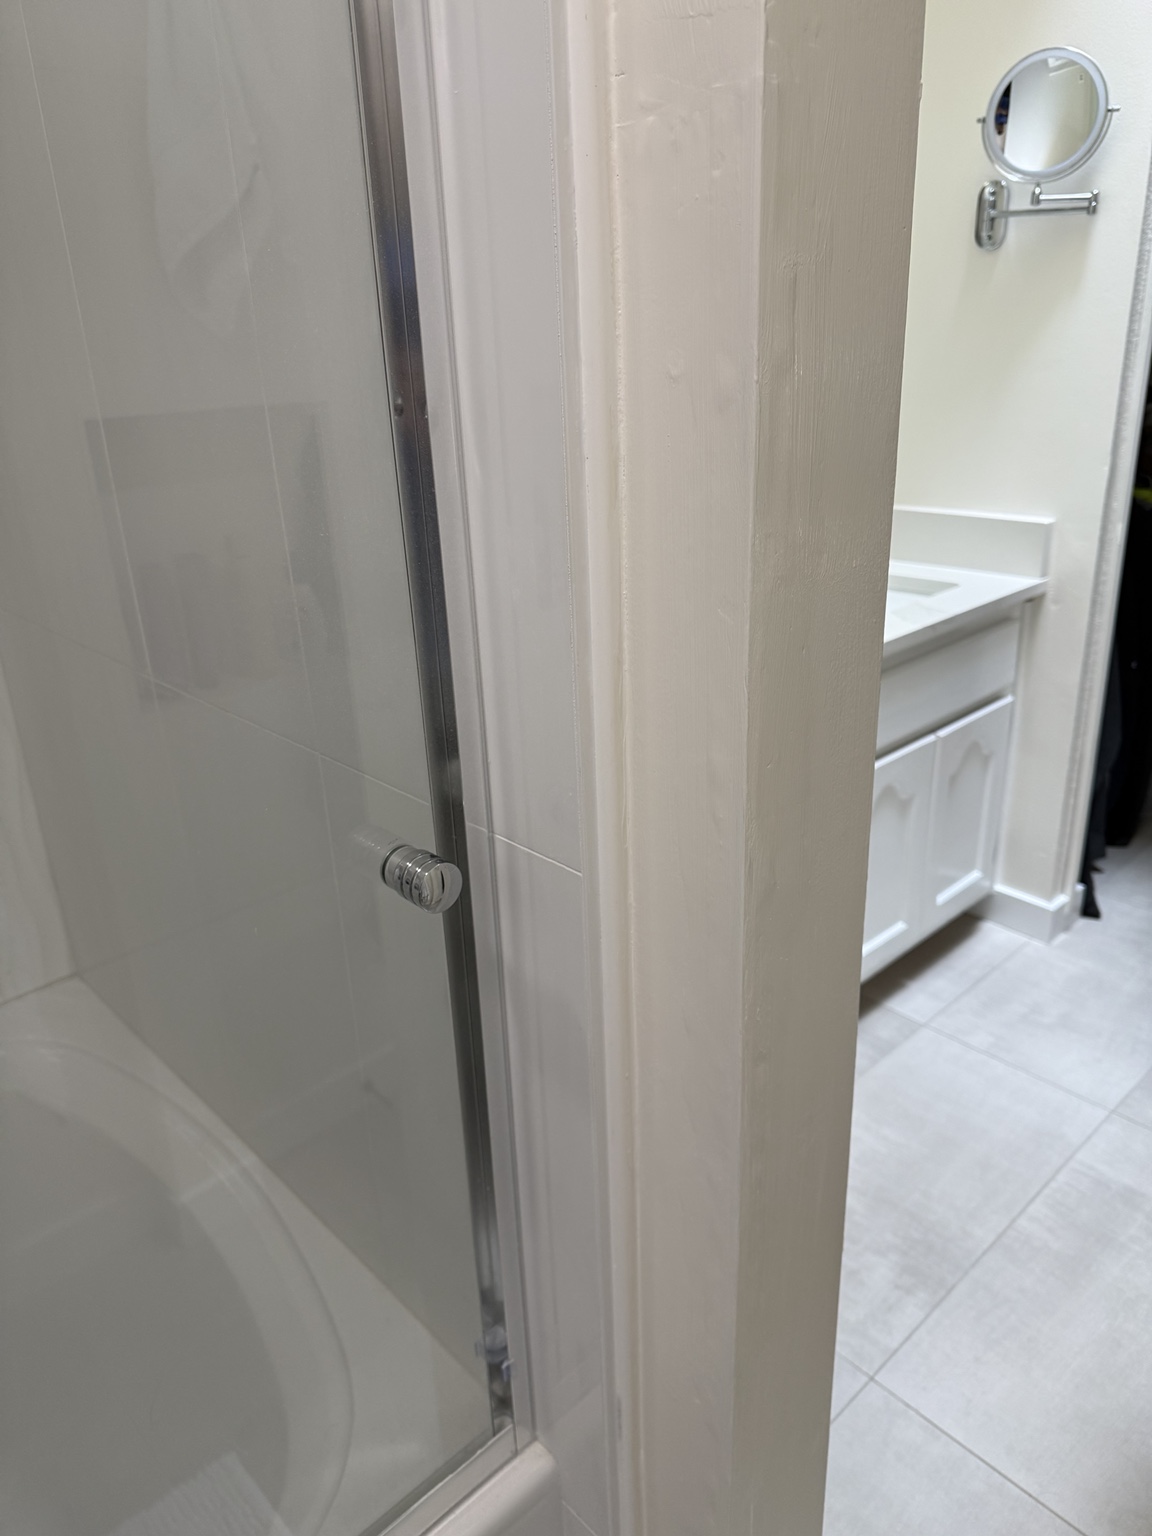
Finished repair
A clean, intentional transition
The dark gap is gone. My finished PVC edge now looks like part of the shower trim, and the repaired wall surface is sealed, primed and painted.
Materials I used for this repair
These are the types of materials and tools I used to close the gap, seal the edges and finish the paint. The links make it easier to find a comparable item; I still check the dimensions, label directions and compatibility before buying.
Retailer inventory, specifications and prices can change. Amazon links are standard shopping links until Roof & Lawn's Associates account is approved and connected. All retailer links are provided for convenience; compare the product label with your exact surfaces and shower assembly before use.
Why I changed direction
At first, the damaged outside corner drew all the attention. But I already knew how I would finish that surface. The real challenge was the unfinished shower-to-wall transition behind it.
Once I measured the opening at three-quarters of an inch, I ruled out an oversized caulk joint. I chose moisture-resistant PVC to bridge the opening, secured it properly, and sealed the shower side.
What I learned from this repair
The most visible damage is not always the real problem. The peeling outside corner pulled my attention first, but the important detail was behind it: an unfinished 3/4-inch shower-side opening. Once I understood the construction and measured the gap, my repair became simpler and cleaner—cover the gap with a durable finish detail rather than trying to fill three-quarters of an inch with caulk or mud.
This article documents a repair I completed in my own house and is provided for general education. Shower assemblies vary. Confirm that the area is dry and that no waterproofing, drainage path or manufacturer-required movement joint is being covered or compromised. Follow the shower enclosure, tile/backer, PVC, adhesive, sealant, primer and paint manufacturers' instructions. Use a qualified professional if there is active leakage, soft substrate, mold, concealed damage or uncertain waterproofing.