We all dream of having a new kitchen. The problem is that kitchens can cost a large sum of money—or surprisingly little. The final cost depends on how carefully you plan, how thoroughly you prepare and how much of your own time you are willing to put into it.
You can hire a contractor to handle everything. You can ask friends for help. Or you can spend many days working on the kitchen after your regular workday is finished. That is the route we chose.
Our kitchen before and after
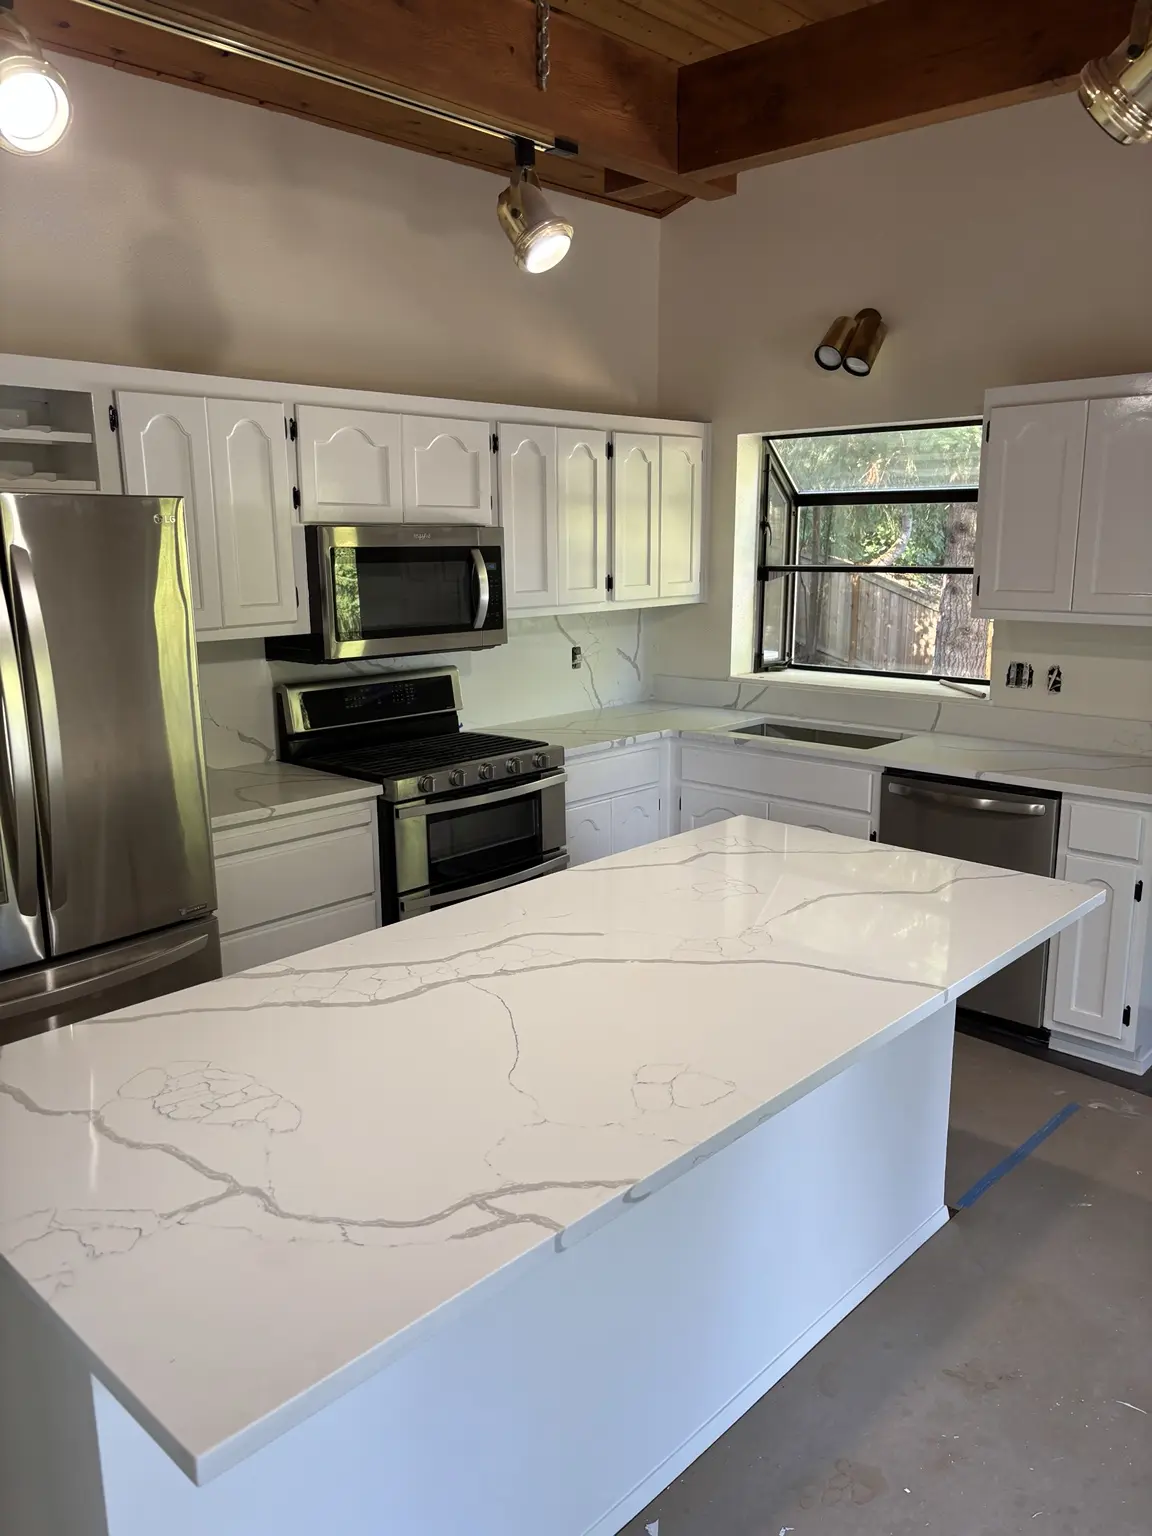
These photos show why the project was worth the evenings and weekends. We kept the cabinet boxes and doors, but careful preparation, paint, new countertops, a new sink and faucet changed the entire room.
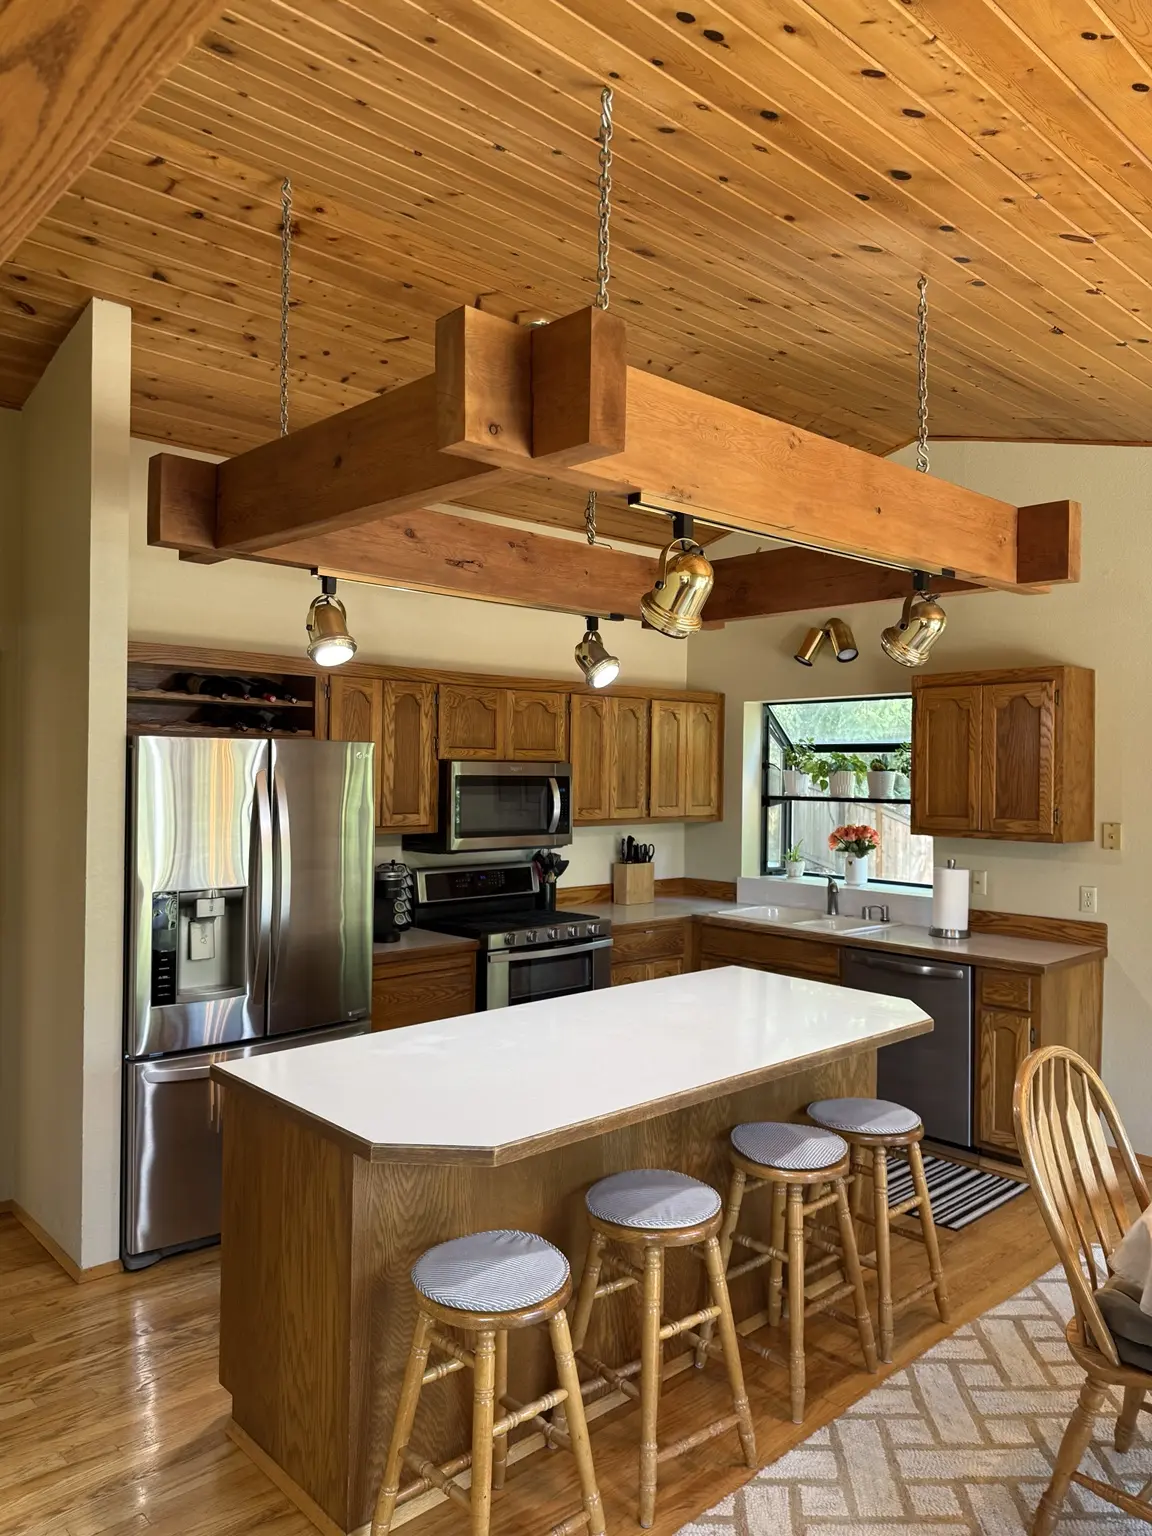
The kitchen we started with. The oak cabinets were usable, so refinishing them offered the biggest opportunity to save money.
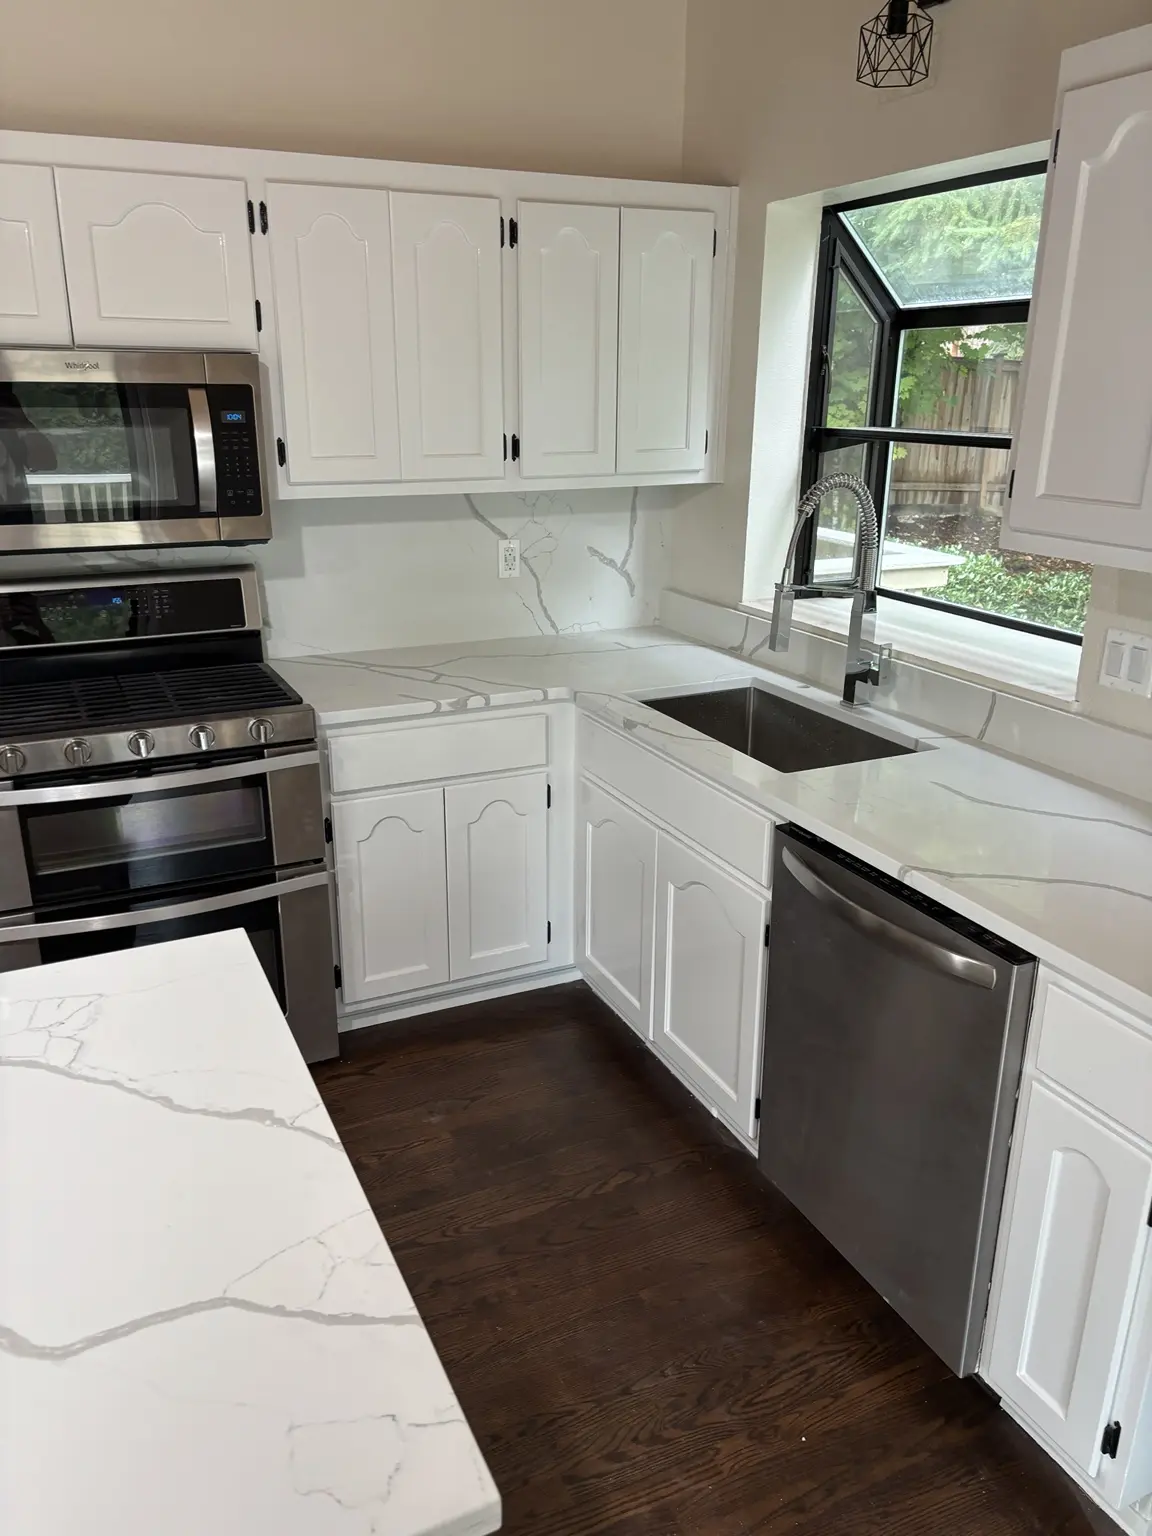
The finished kitchen. White refinished cabinets, new countertops, a new sink and faucet, and the darker floor transformed the room for under $9,000.
Where we spent—and where we worked
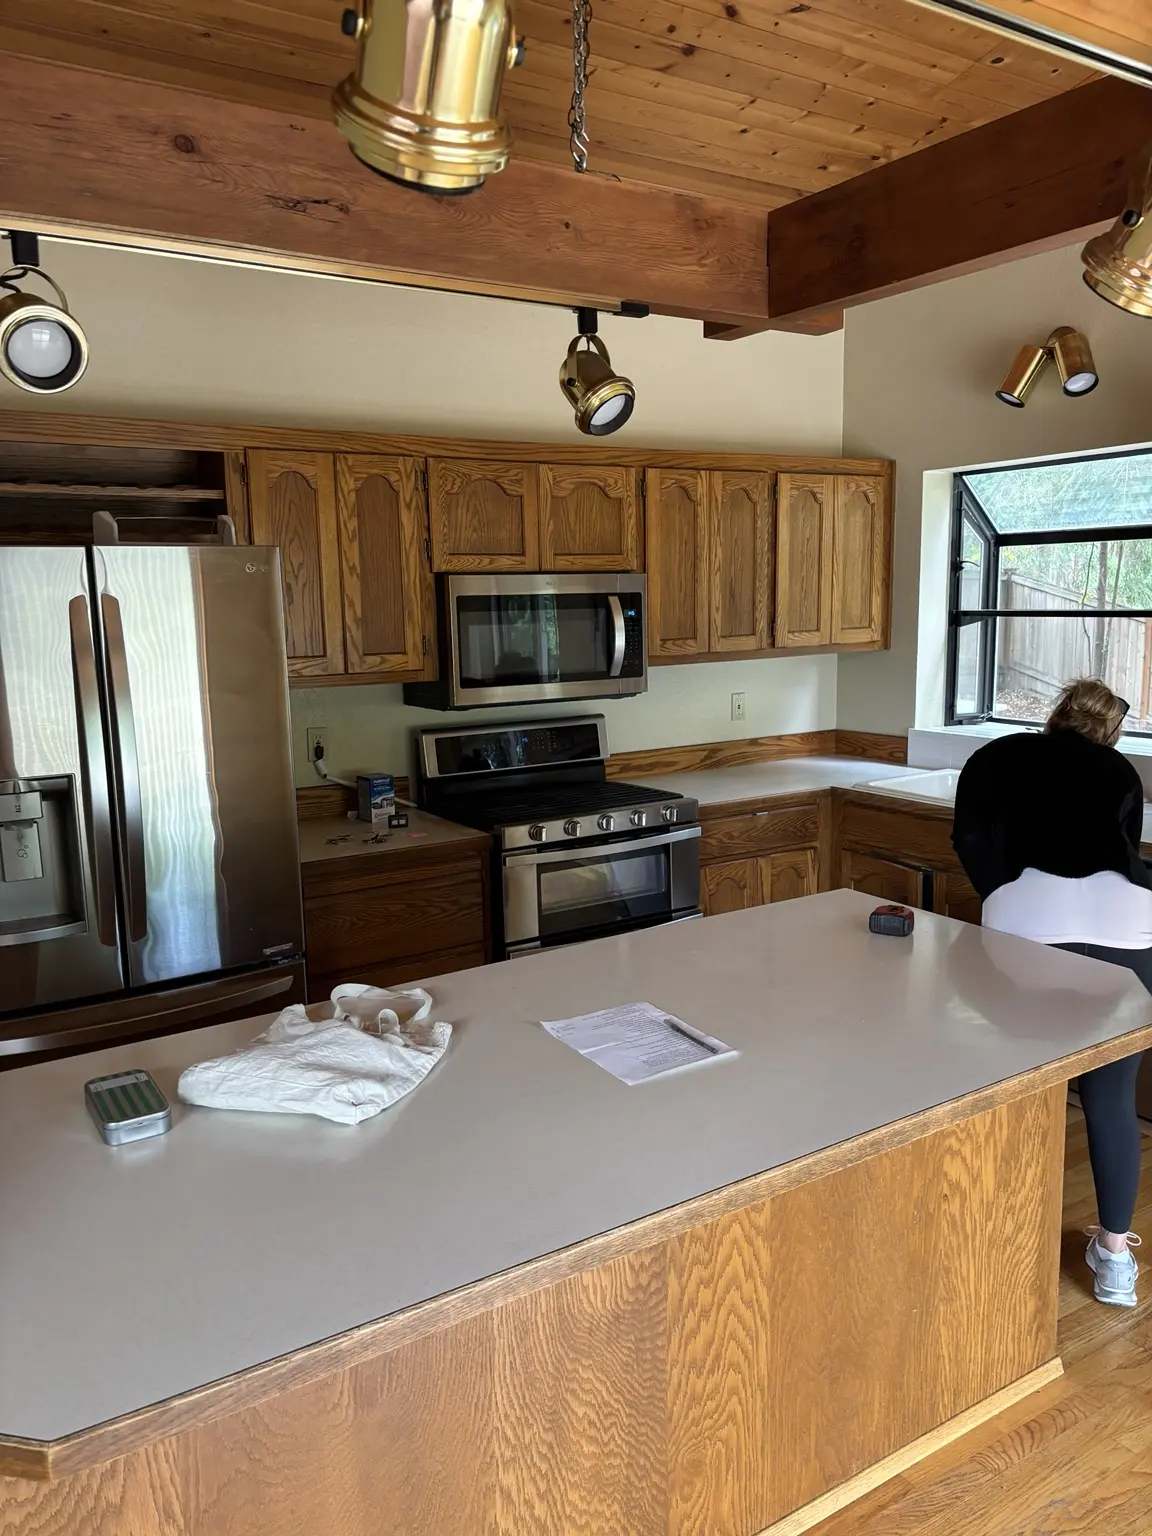
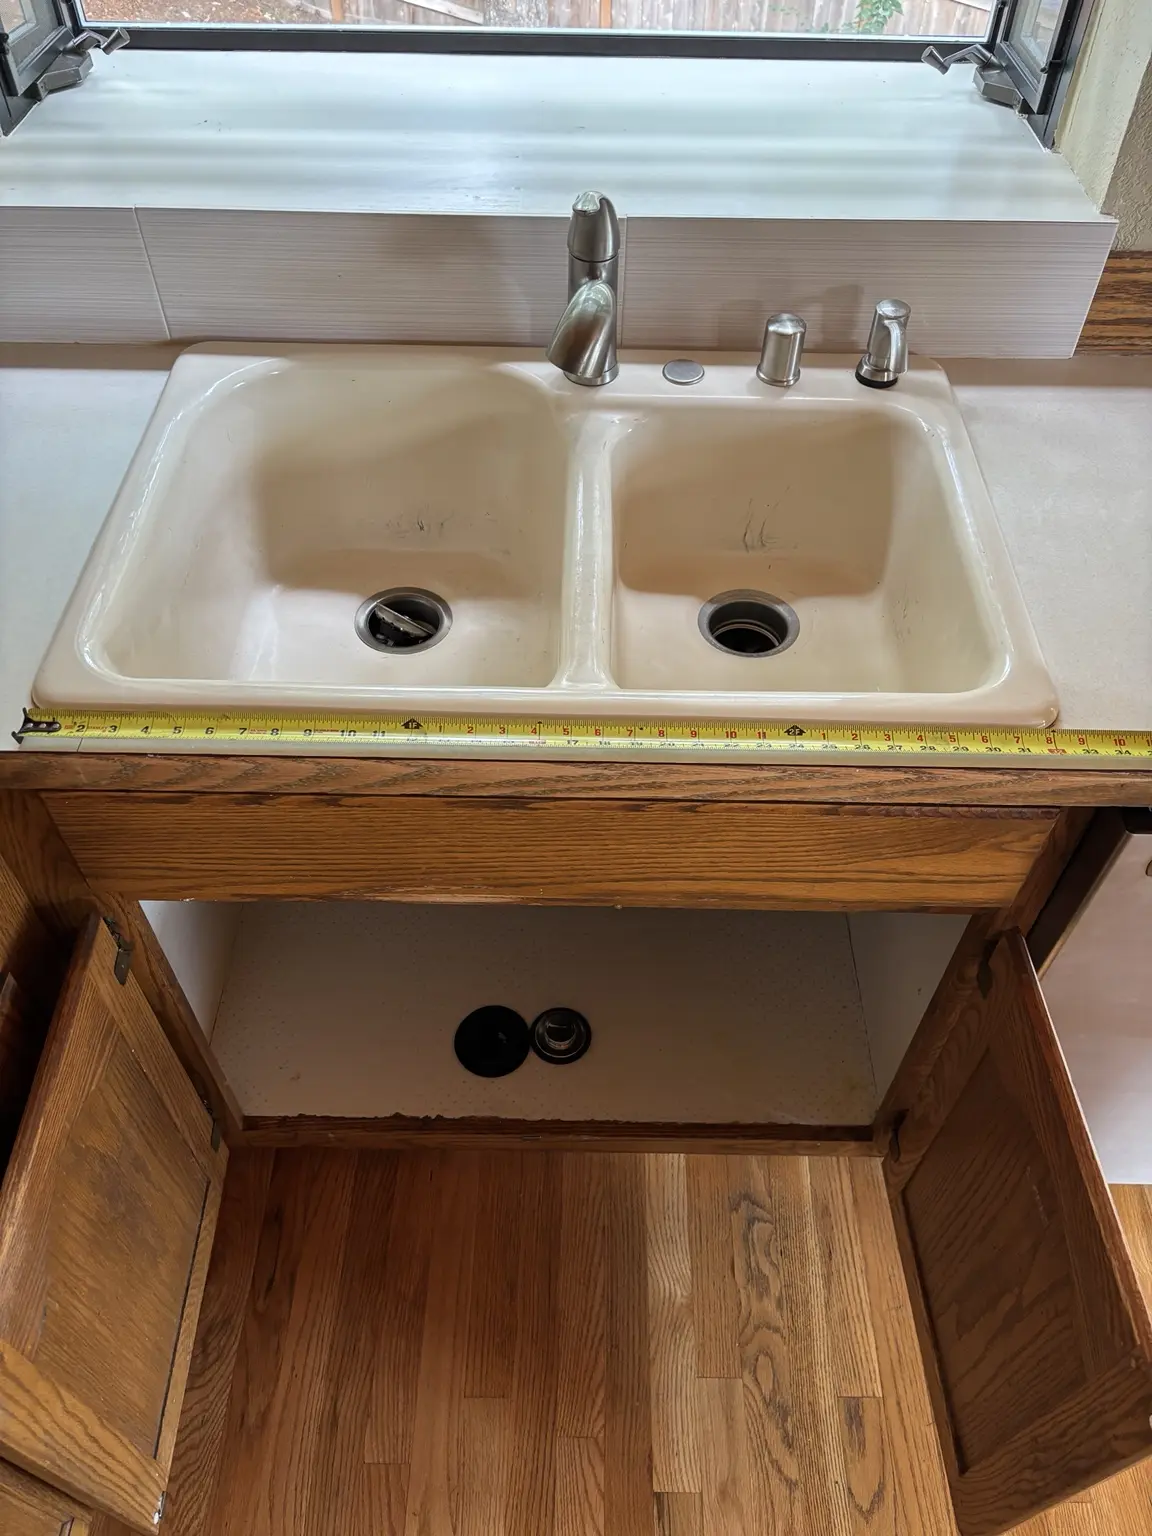
We kept the project economical by improving what we already had where it made sense and spending money on the items that would make the room feel new. The cabinets required patience and labor. The sink, faucet and countertops delivered the visible change.
Cabinets
Refinishing saved money, but it was not a shortcut. The professional-looking result came from the preparation and the time we put into every surface.
Sink and faucet
These were two of the lower-cost purchases in the project, but they produced an outsized reward. They changed how the kitchen looked and how it worked every day.
Countertops
The choices and prices seemed endless. Comparing local companies and materials helped us understand what we could afford and what we actually wanted.
If you refinish your cabinets, preparation is everything
Paint will not hide poor preparation. If I wanted our cabinets to look professionally finished, I had to treat every step as important rather than rushing toward the final color.
- Remove hardware and label doors and drawers so everything returns to the correct location.
- Sand the surfaces carefully so the new finish has a sound base.
- Fill cracks, dents and unwanted holes with a suitable cabinet scratch filler from Amazon, then sand the repairs smooth.
- Clean the cabinets thoroughly with TSP cleaner from Amazon or a compatible preparation cleaner, following the product directions and safety precautions.
- Use the correct primer and cabinet-appropriate kitchen paint. Home Depot carries BEHR Premium cabinet, door and trim paint as well as a wider selection of cabinet paint.
- Apply multiple thin, even coats and allow the required drying and curing time.
The hardest part was not understanding the steps. It was having the patience to repeat them until the cabinets looked right. Many layers of the correct paint, with proper drying time between coats, made the difference between a quick paint job and a finish we could be proud of.
The sink and faucet: smaller cost, big reward
If you are trying to make a kitchen feel new without replacing everything, the sink and faucet are two places worth considering. Compared with many kitchen upgrades, they can be relatively affordable, yet they become a visual focal point and affect how you use the room every day.
Measure carefully, confirm that the sink works with the cabinet and countertop, and make sure the faucet, plumbing connections and accessories are compatible before buying.
Countertops: understand the choices before choosing
Countertop pricing varies greatly. Quartz, granite, marble and other materials each come with different appearances, maintenance needs, durability and costs. Most countertop companies offer several materials, so I found it useful to speak with local companies, compare prices and understand exactly what each estimate included.
Do not compare only the price per square foot. Ask about removal, measuring, fabrication, edge details, sink cutouts, backsplash, installation and any plumbing work that may be separate. The lowest initial number is not always the lowest finished price.
What this project taught me
A smaller budget does not mean the finished kitchen has to feel cheap. It means deciding where money matters most and accepting that saving money may require more of your time. Energy, patience and careful preparation became part of our budget.
Have fun with the process
Understand what you want to accomplish before you start, but allow the kitchen to take shape as you work. There will be long evenings, repeated steps and moments when the project looks worse before it looks better.
Keep going. Put in the time, enjoy the progress and remember why you started. You can create a kitchen you are truly proud of without spending a fortune. We completed ours for under $9,000—and every day of work became part of the story.