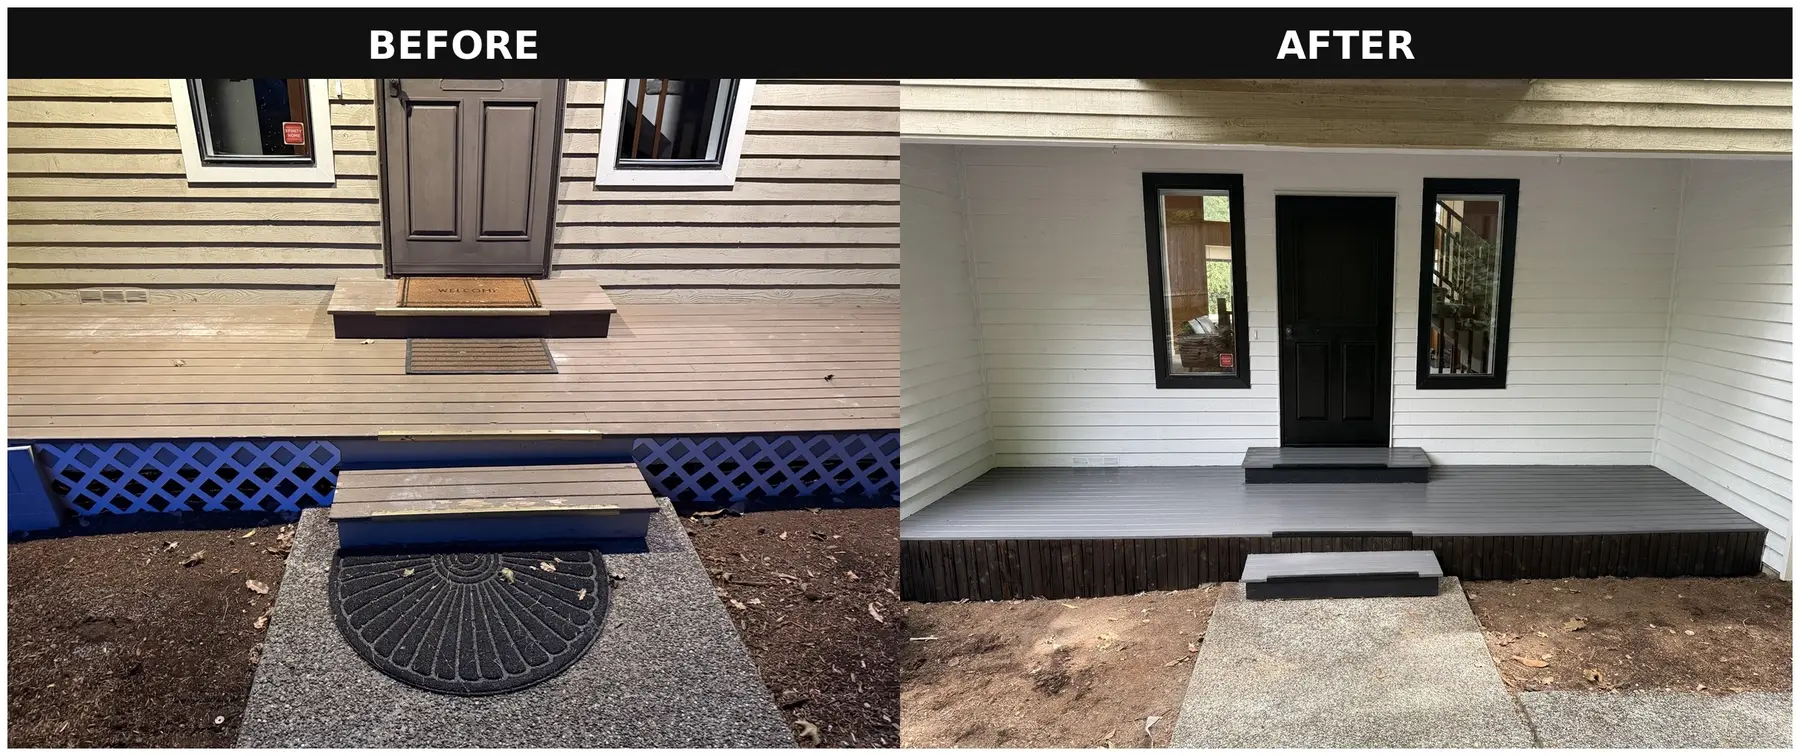
The bones of the porch were already there. The siding, windows, doors, deck and stairs all worked. What bothered me was how the colors and small details made the entire entry look older than it needed to. I chose three exterior colors—white, black and gray—and let contrast do the work.
Where I started
The original entry had tan walls and decking, white window trim, a brown screen door, white lattice and brass-colored strips along the stair edges. None of those pieces was a disaster by itself, but together they competed instead of looking intentional.
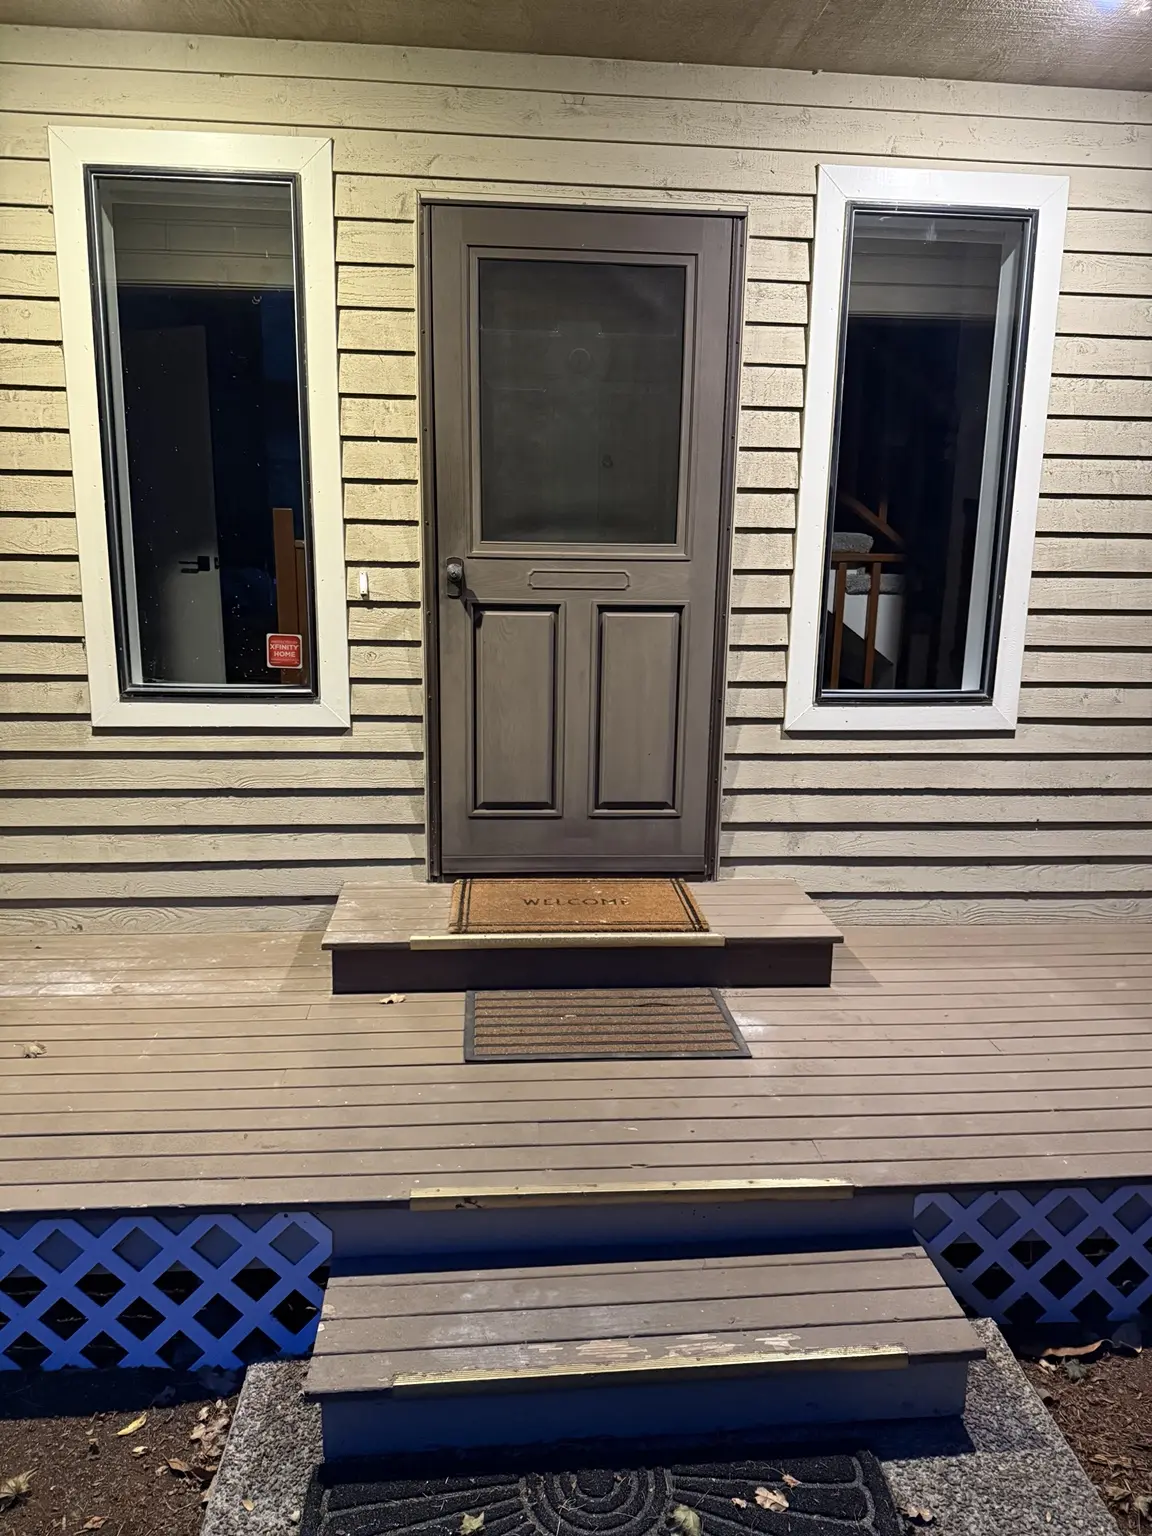
A working entry that felt dated
I did not want to make structural changes. My plan was to work with what I had and use paint to make the separate parts read as one design.
First, the lattice had to go
The white crisscross lattice under the porch was one of the first things I wanted to change. The openings gave animals an easy place to investigate, and the pattern made the porch look busy. Replacing it with closely spaced vertical wood created a stronger barrier and gave me a cleaner, more modern base to paint.
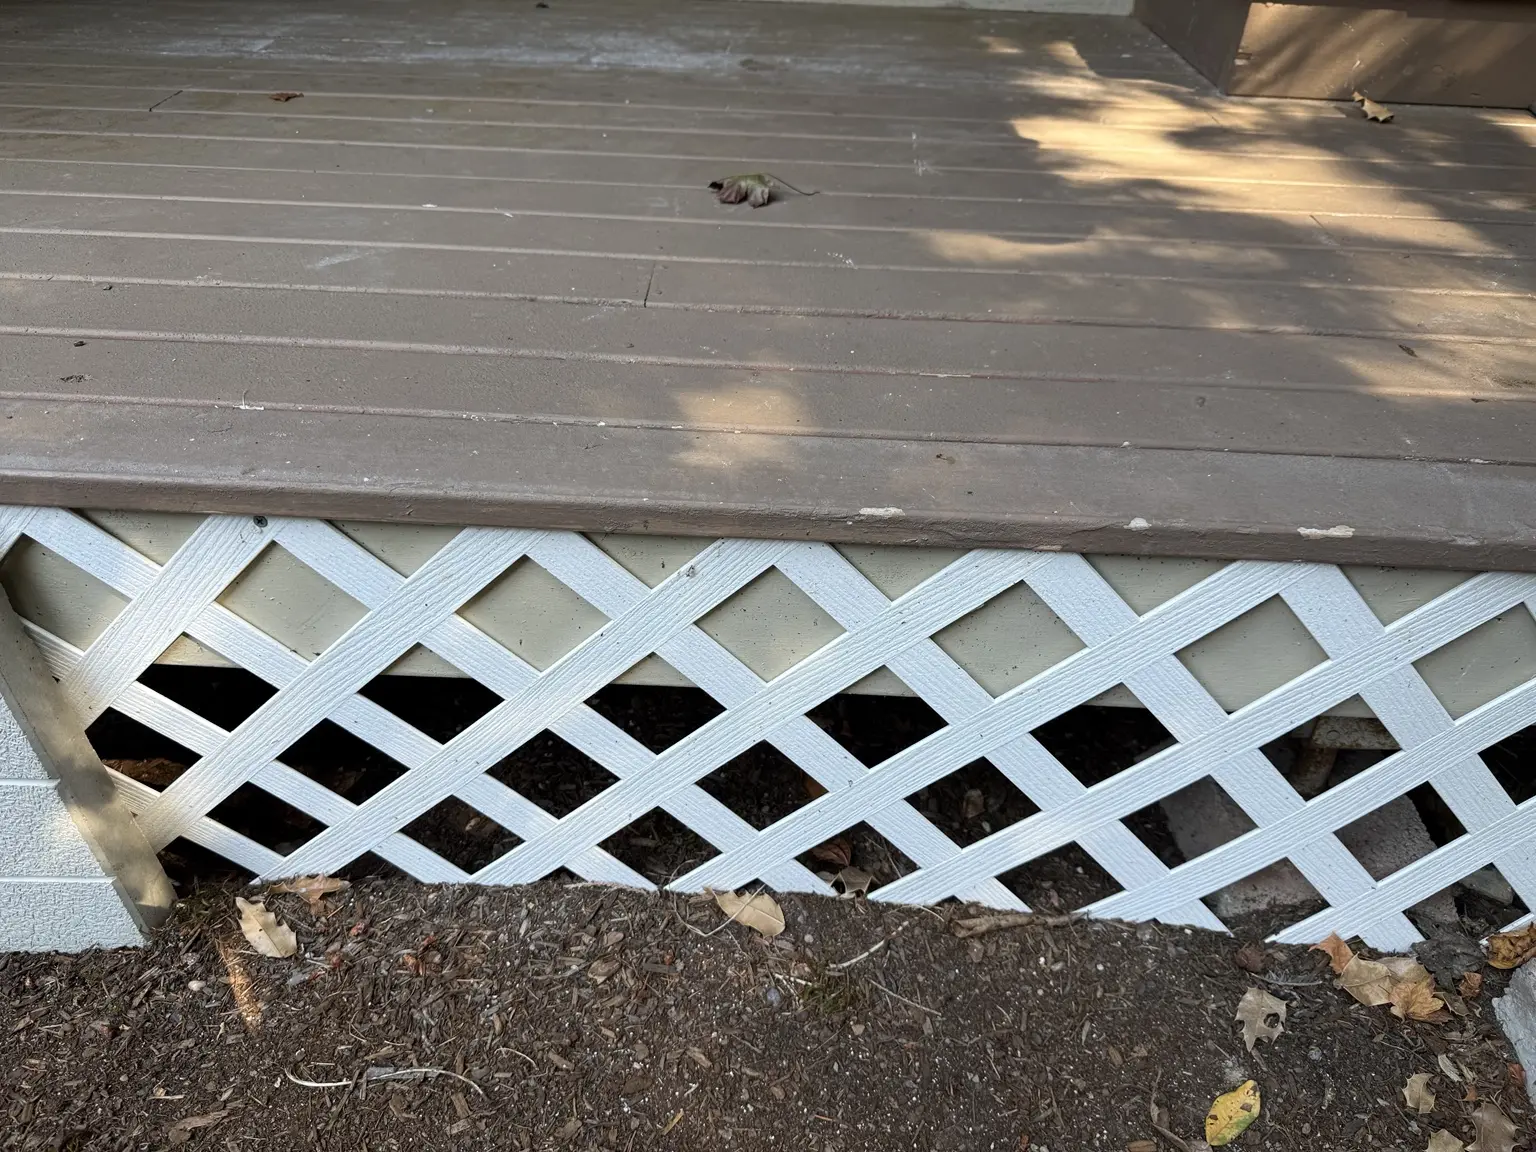 BEFORE
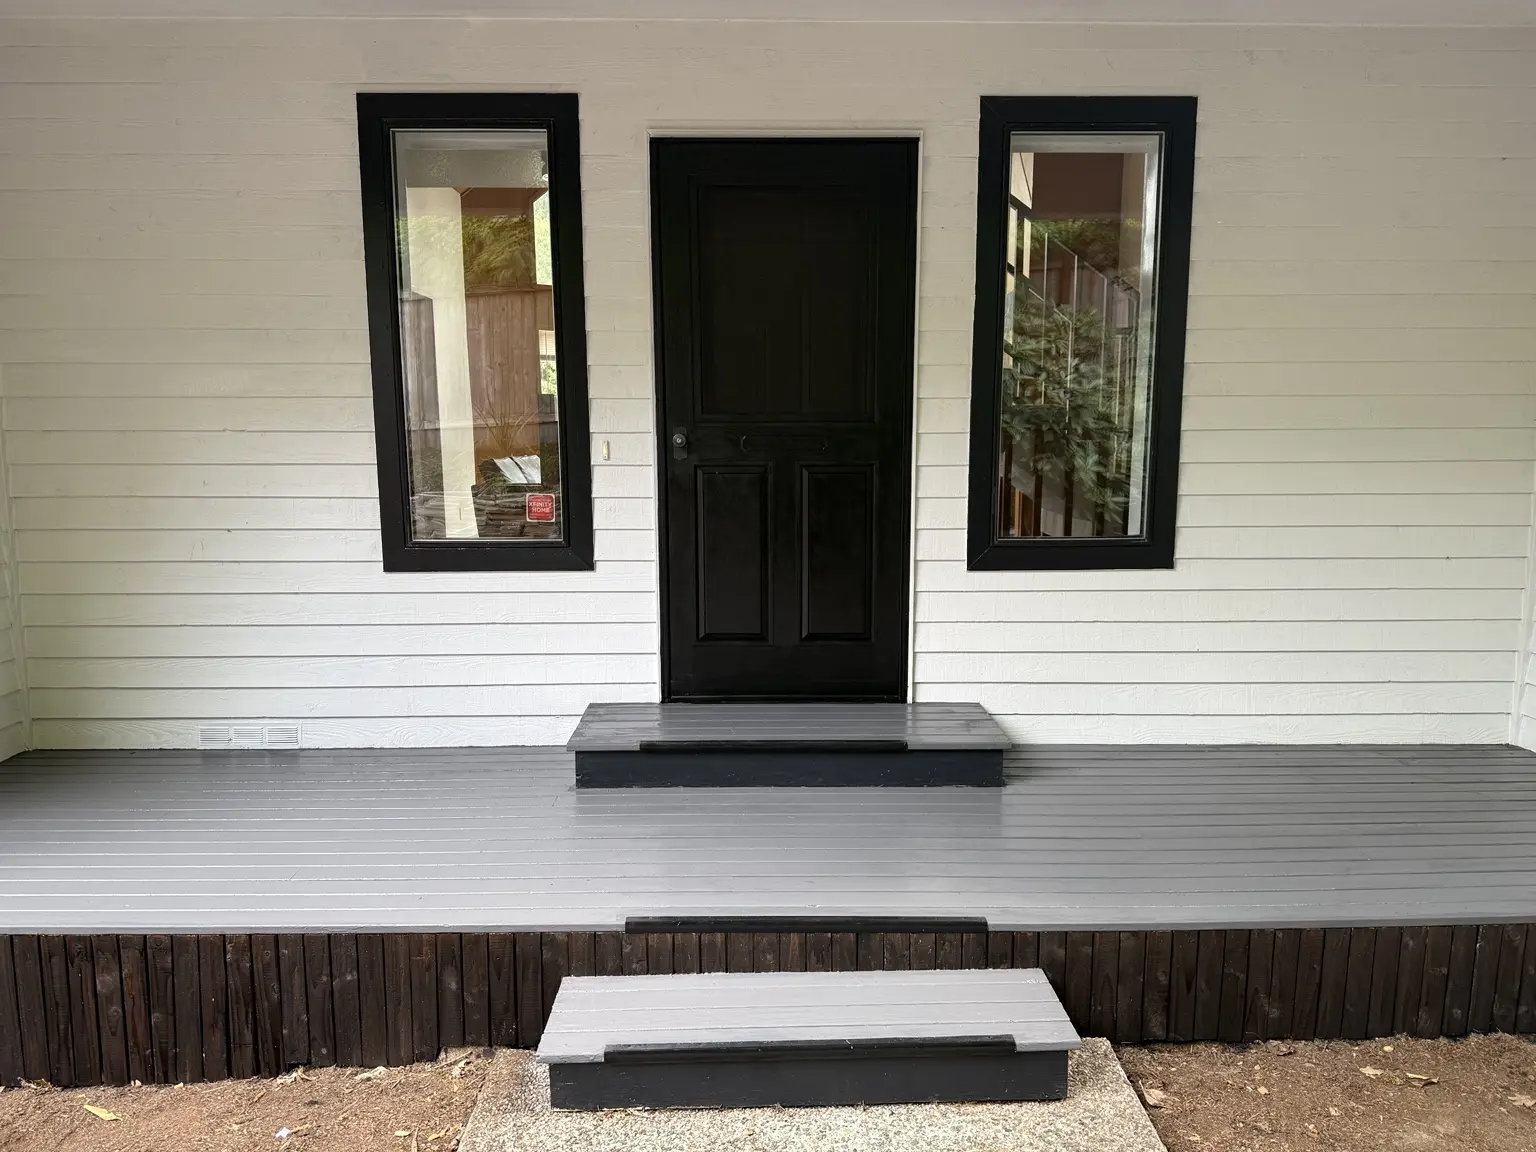 AFTER
AFTERThe porch and stairs needed contrast
The porch surface was still serviceable, but the old brown color flattened the whole entry. The brass-colored stair-edge strips also pulled attention for the wrong reason. They were there to protect the edges from shoes, but visually they looked like leftovers from another era.
I painted the porch and stair treads gray, then used black on the stair faces and lower trim. That two-tone treatment made the steps look deliberate and tied them into the black door and window trim. It also kept the walking surfaces lighter than the vertical faces.
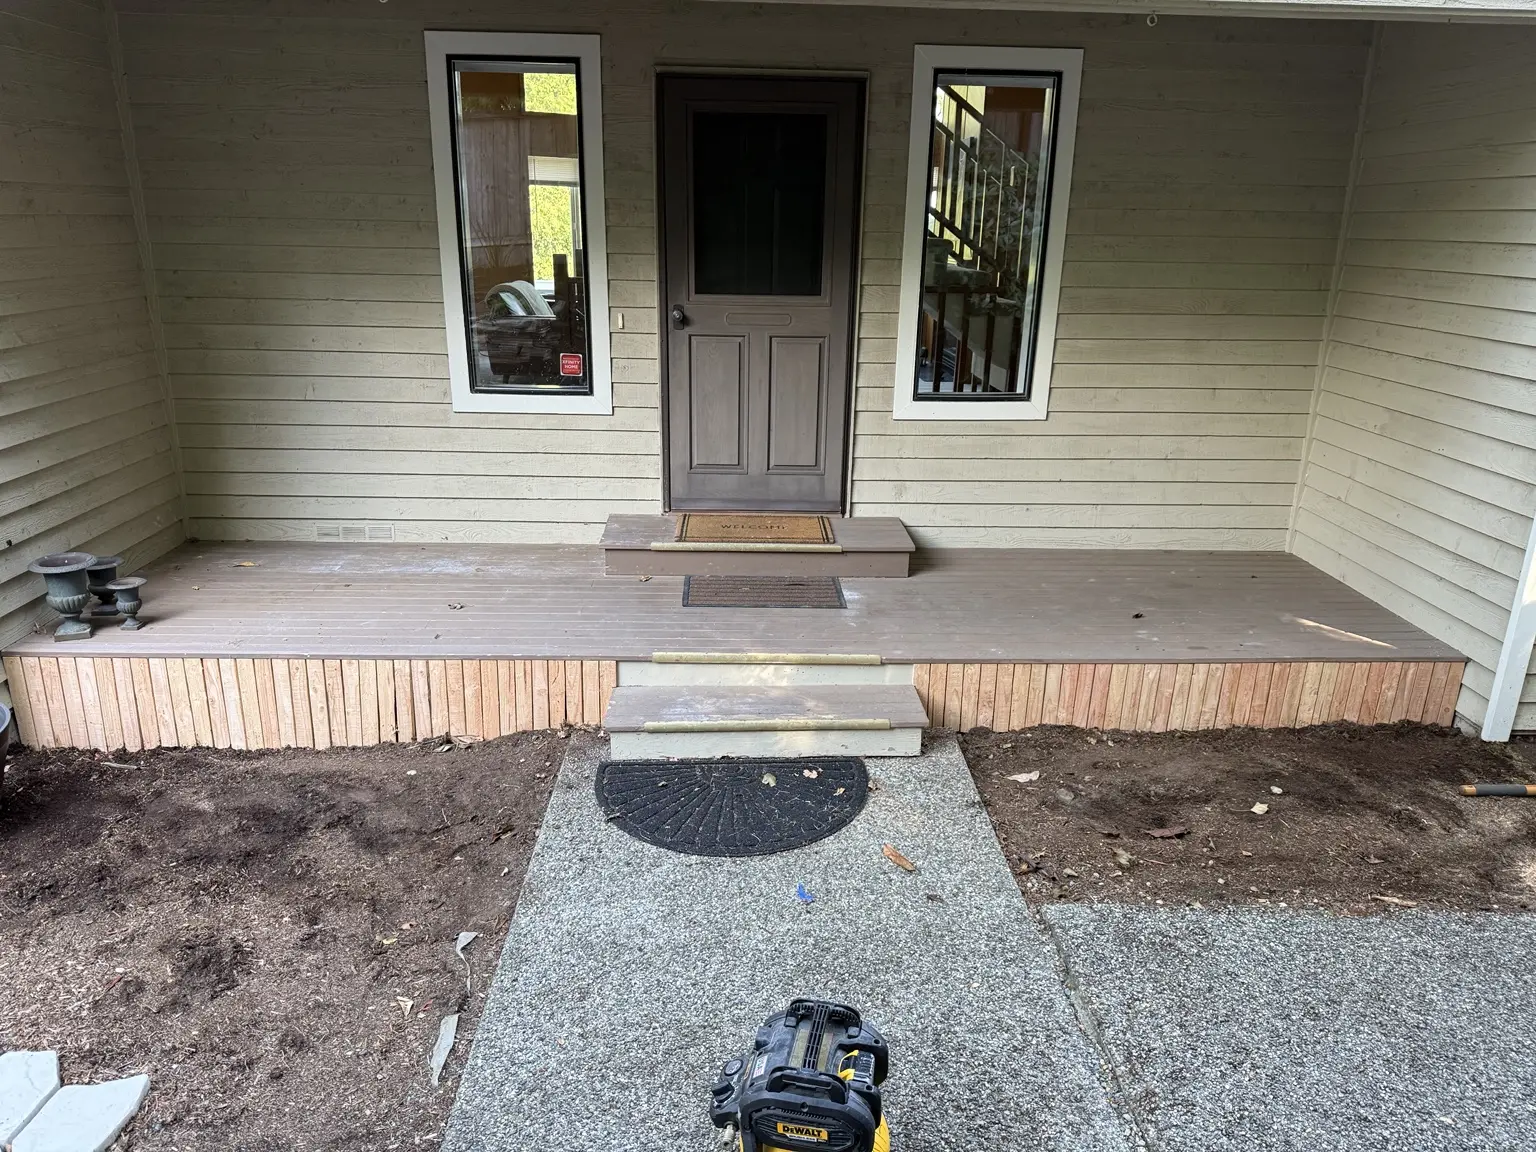
The porch blended together
The floor, siding and steps were too close in tone, so none of the architectural lines stood out.
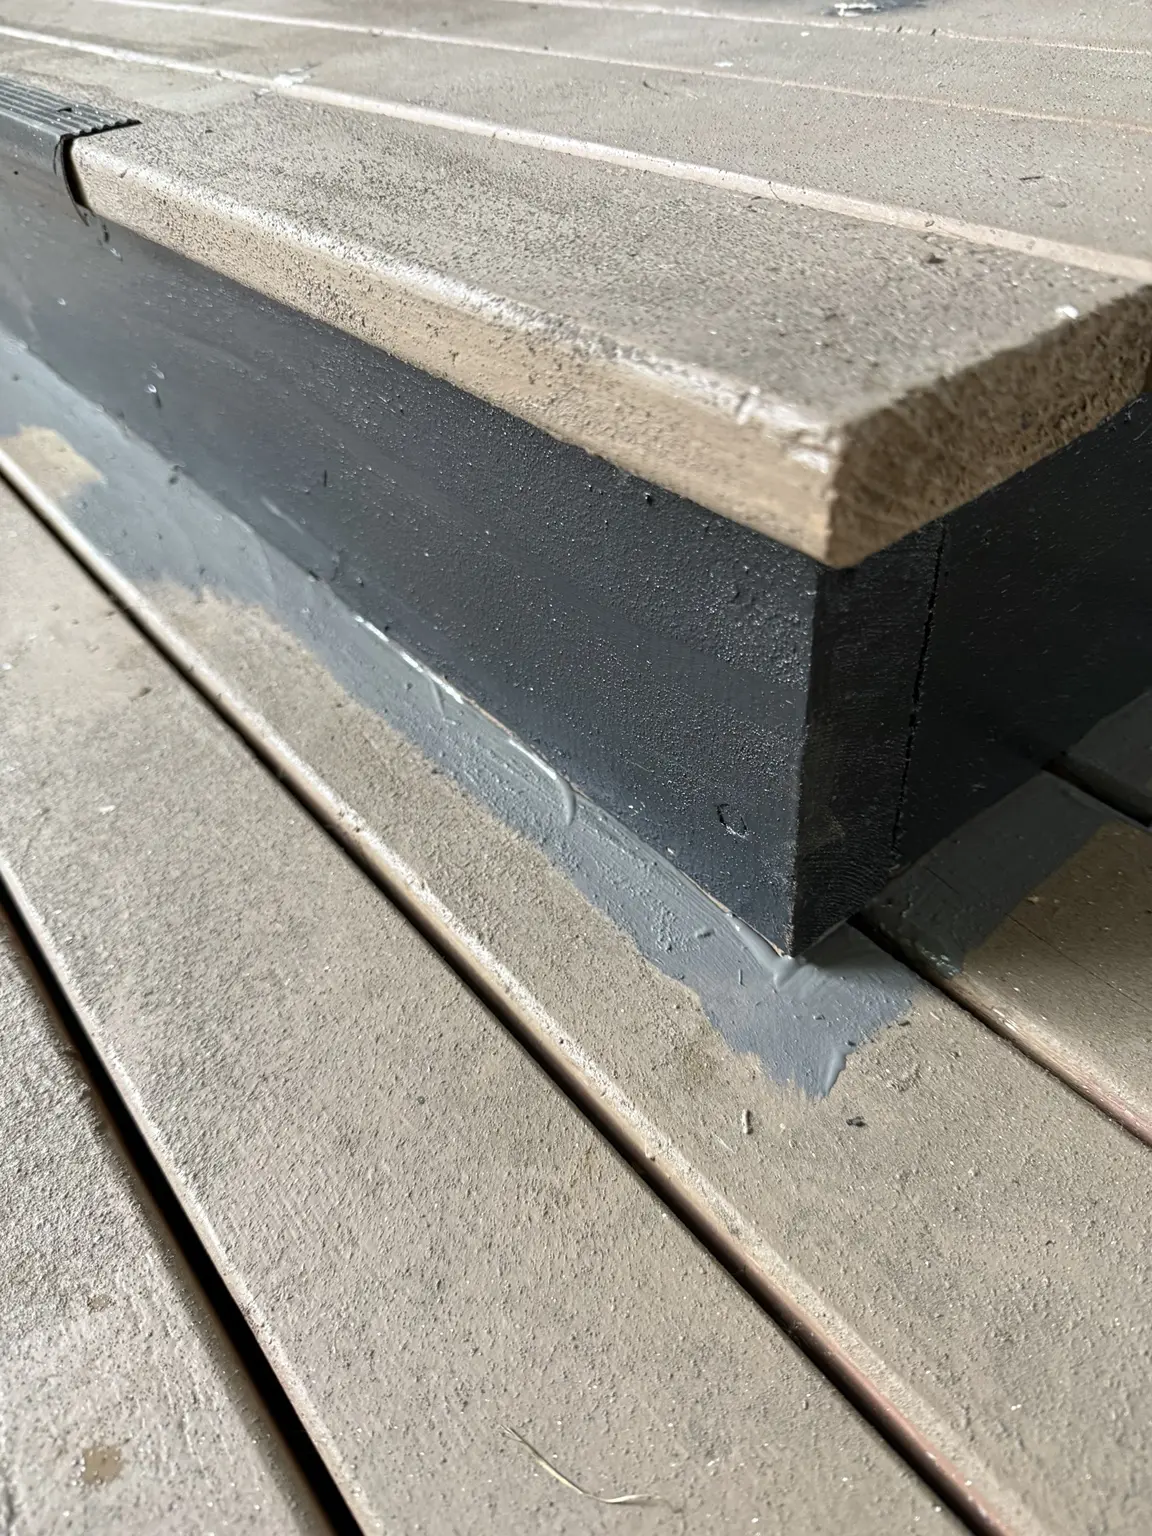
Two tones sharpened the steps
Gray on top and black on the face gave the same stair a much cleaner edge without changing its structure.
Preparation made the color change possible
Black against white leaves nowhere for a sloppy edge to hide. I masked around the door, siding and windows before painting. This took longer than I wanted, but it gave me the clean transitions that make the finished project look planned instead of hurried.
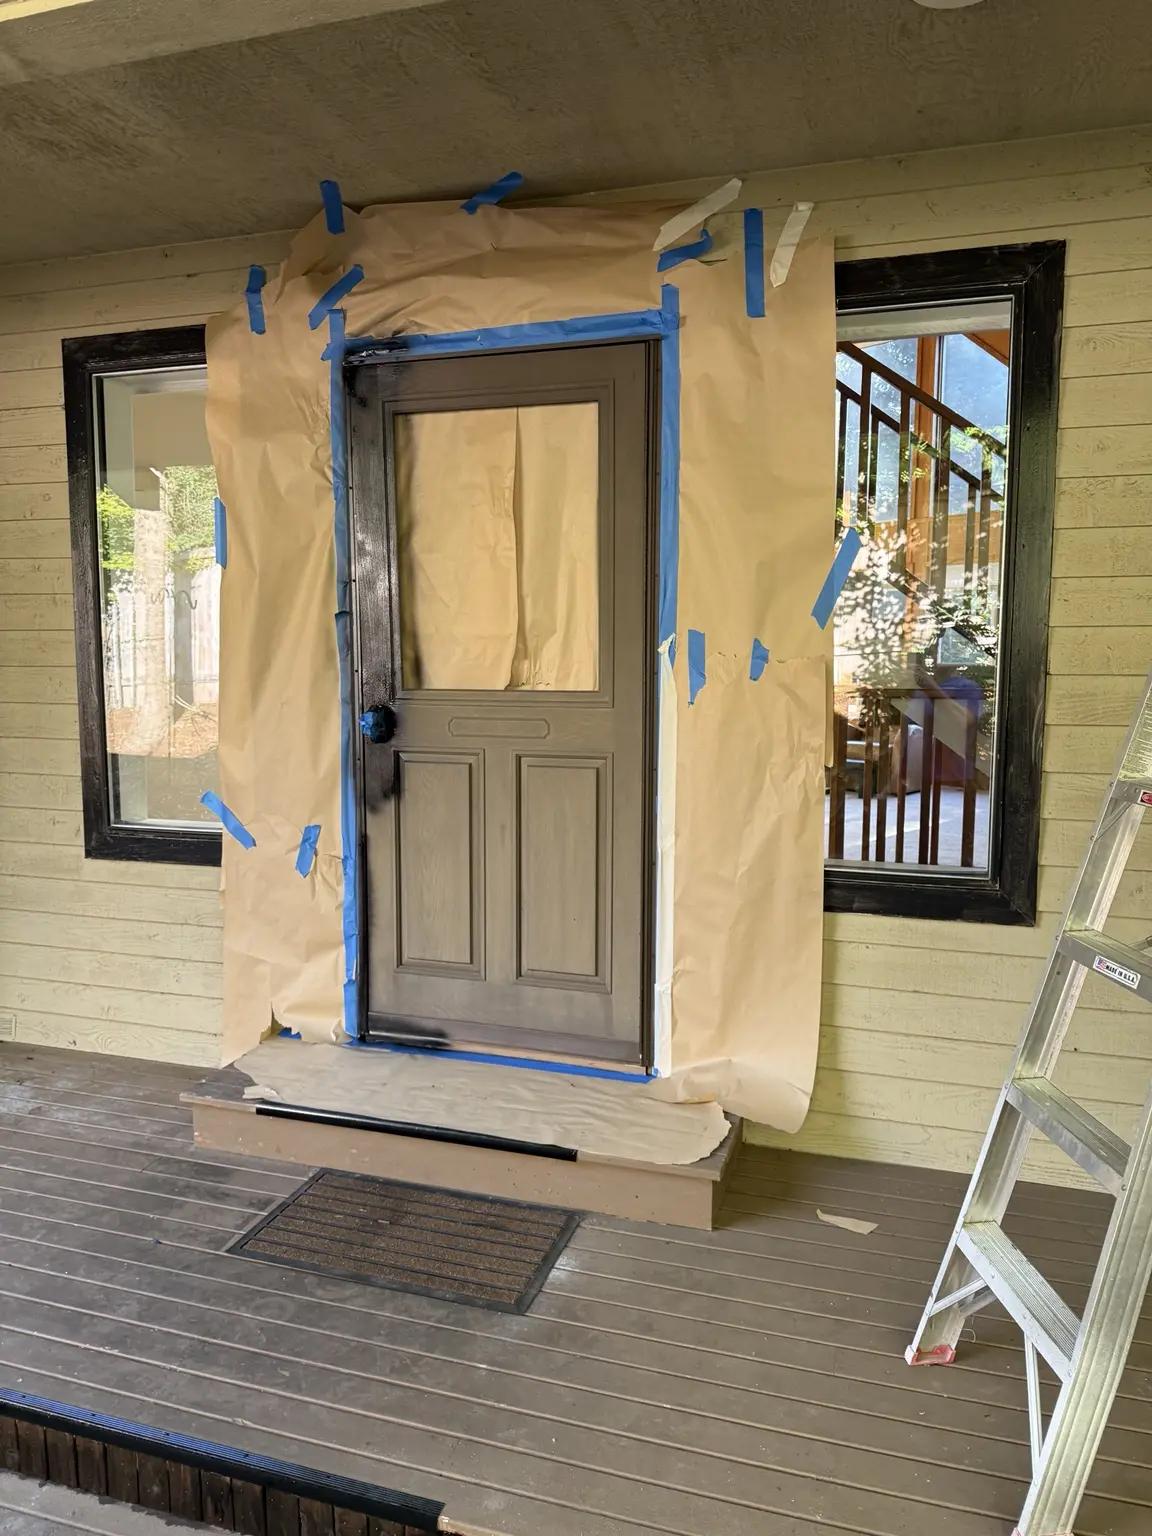
Mask the nearby surfaces
I covered the siding and glass, then taped every edge that needed a sharp color break.
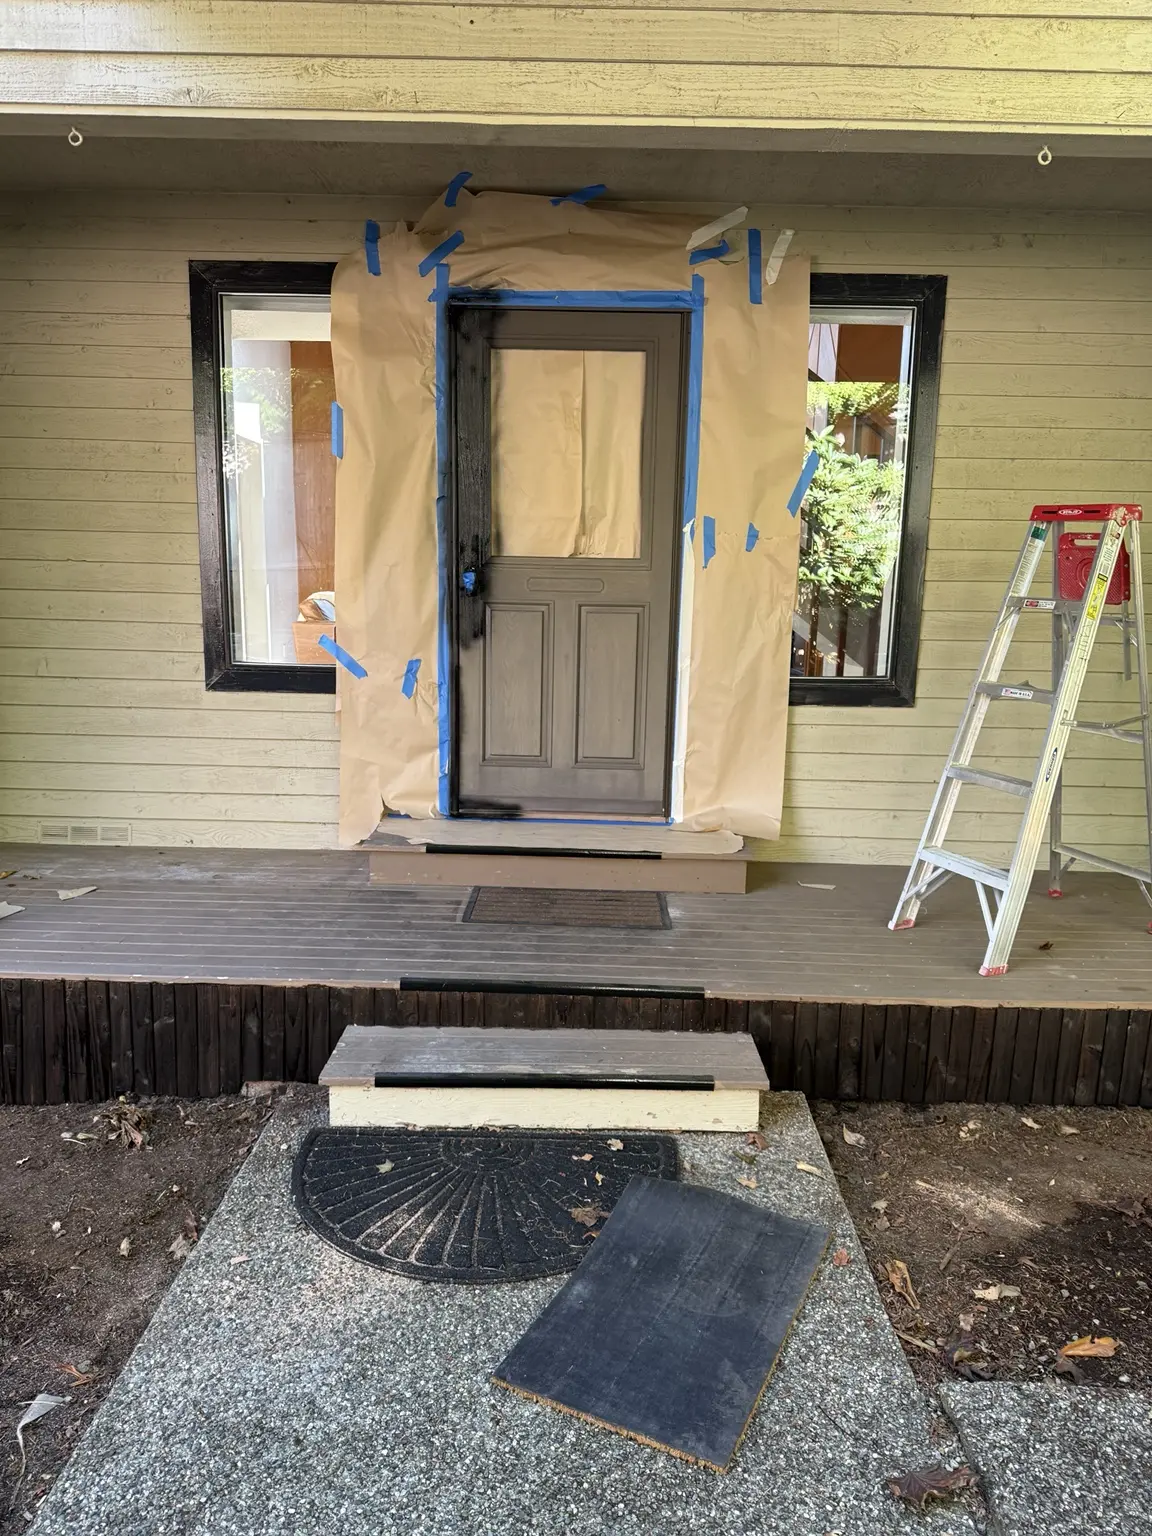
Work in manageable sections
Breaking the entry into the door, trim, walls, deck and steps helped me control the mess and keep track of the three colors.
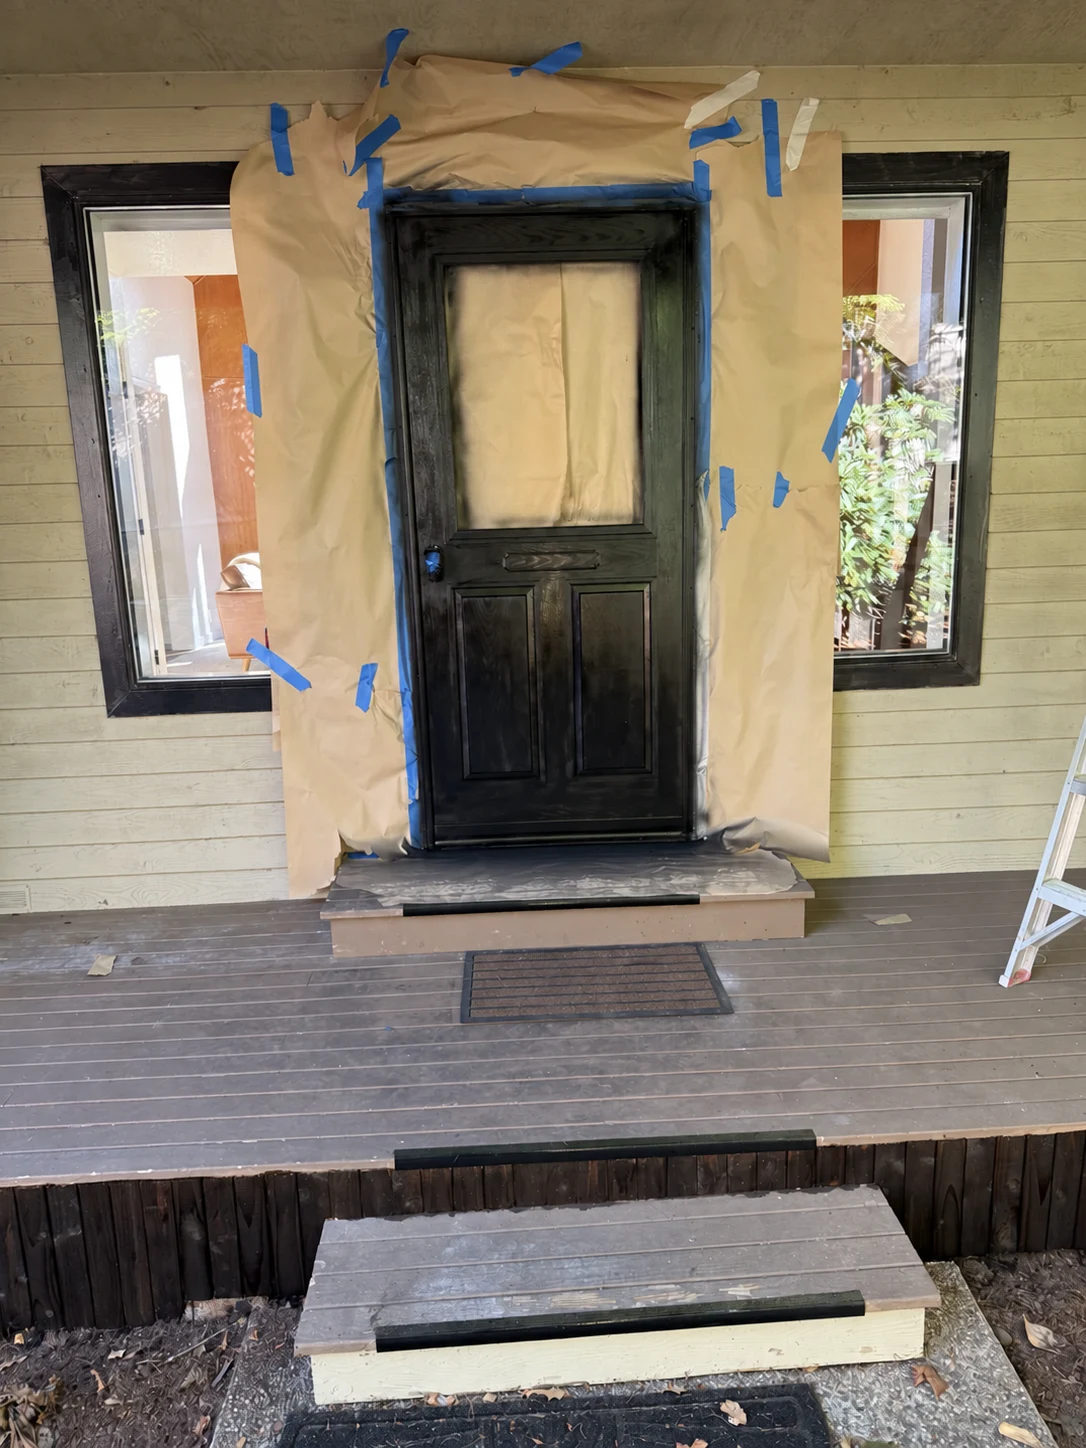
The black started defining the entry
Once the door and narrow window trim went black, the shape of the entry finally began to stand out.
The walls, windows and doors
I converted the surrounding walls to white, then painted the window trim and front door black. The white brightened the covered porch while the black framed the two tall windows and centered the door. I carried the same black onto the screen door so it would belong to the new palette instead of looking like a separate brown layer in front of the entrance.
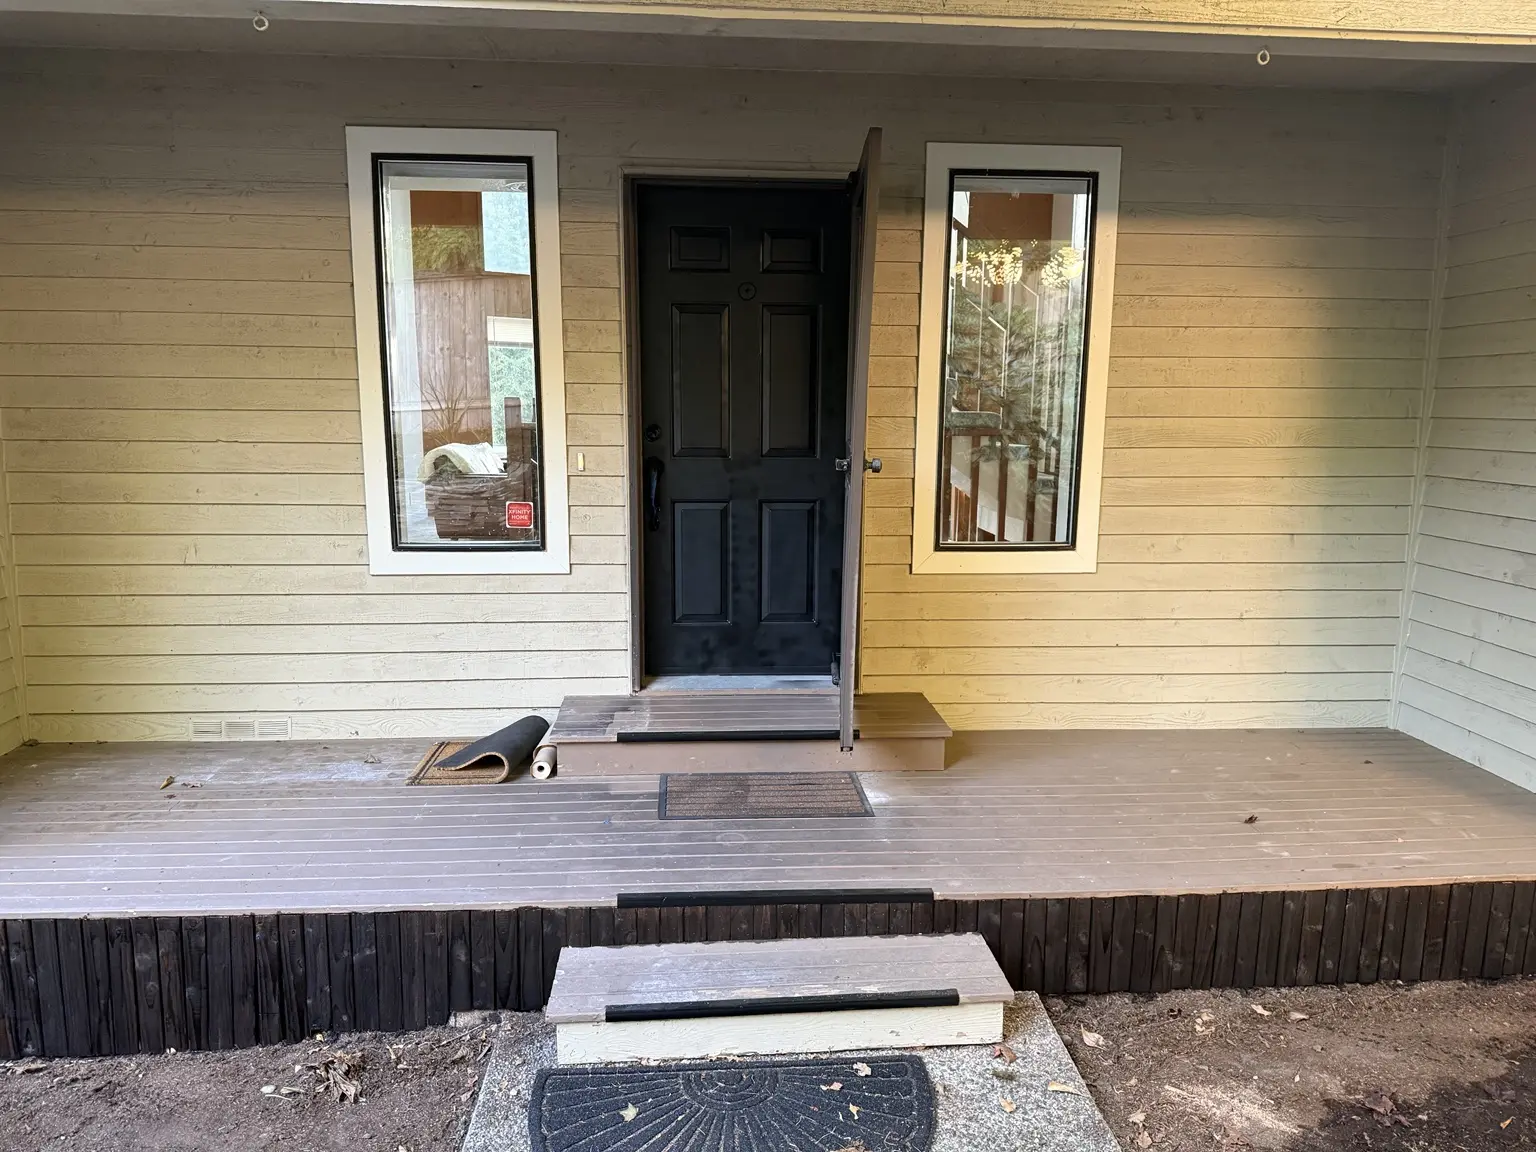 DURING
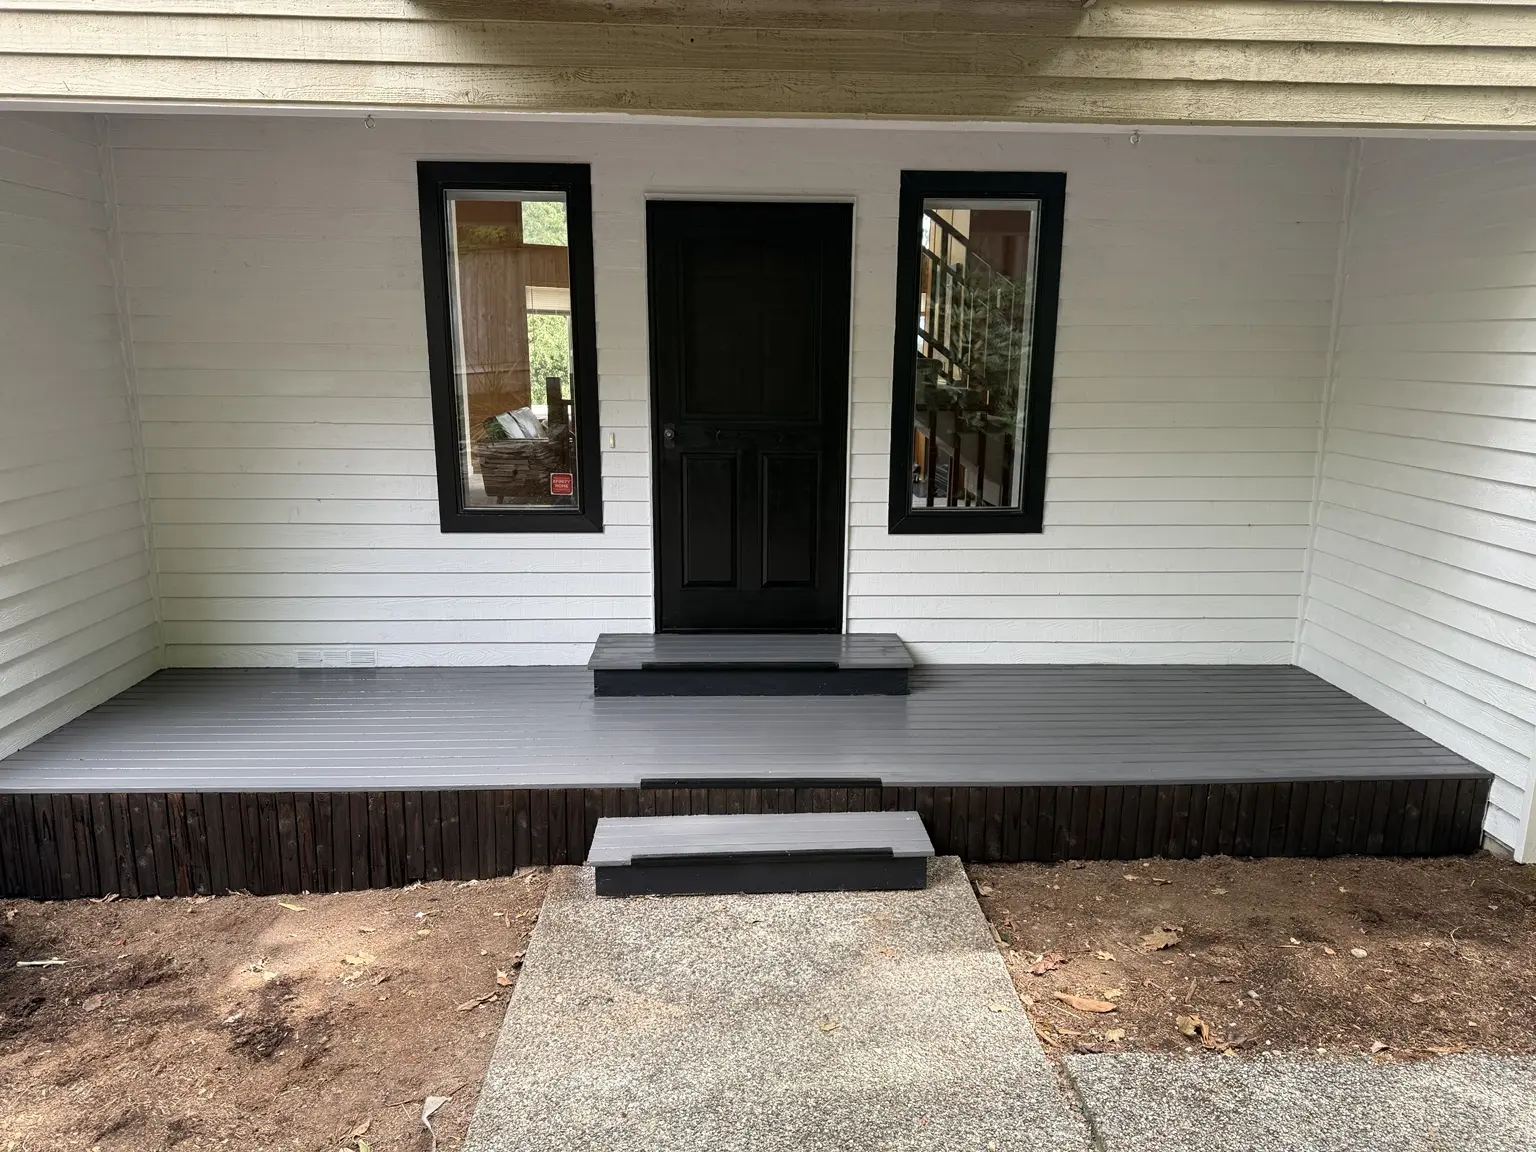 FINISHED
The paint and supplies
I used exterior-rated paint because every surface here has to deal with temperature changes, moisture and regular use. The paint shown in my project photo is Glidden Premium Flat Exterior Paint, Base 3. Base 3 is the tint base used for deeper colors; the final color still needs to be mixed at the paint counter.
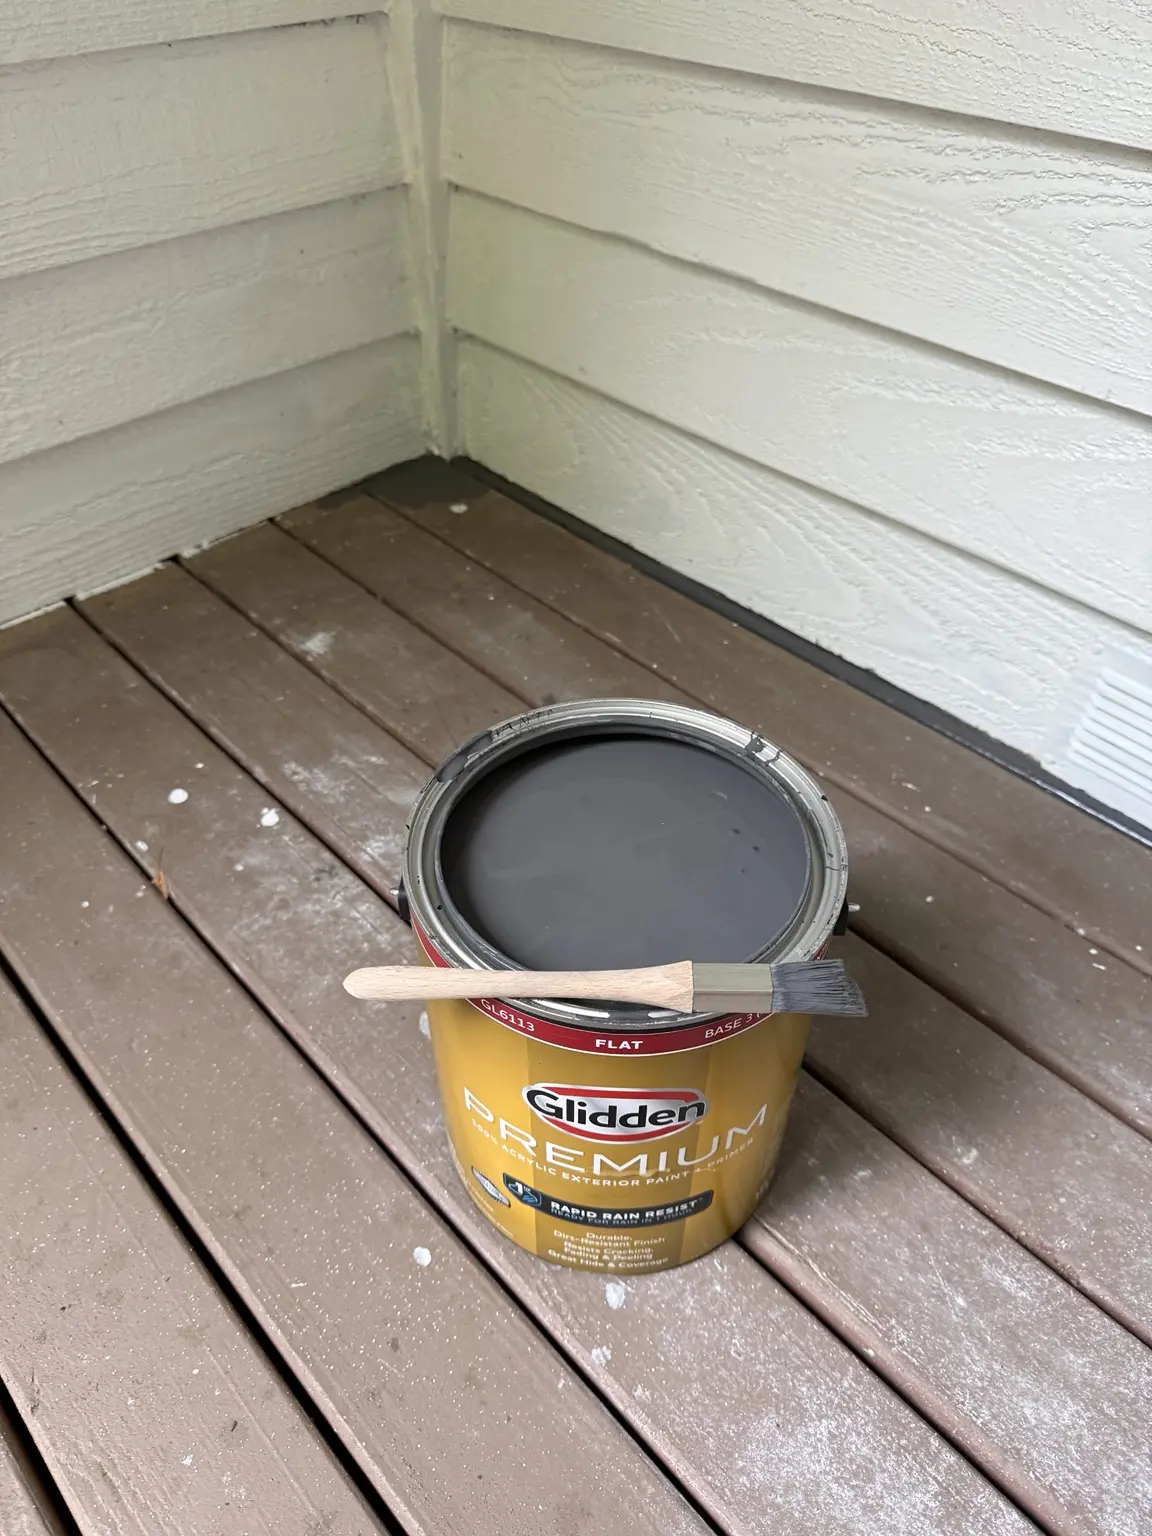
Exterior paint and the right-size brush
A small angled brush helped around trim and corners. Larger open surfaces are faster with a roller, but the detail work still comes down to a good brush and patient masking.
The result: the same porch, stairs, walls, windows and doors now look like they were designed together. Sometimes new paint really can make that much difference.
This article documents my own project for general information. Surface condition, previous coatings and exterior exposure vary. Clean and repair surfaces first, confirm product compatibility, follow the paint manufacturer's preparation and application directions, provide ventilation, and use appropriate fall protection for elevated work. Product availability and links may change.